







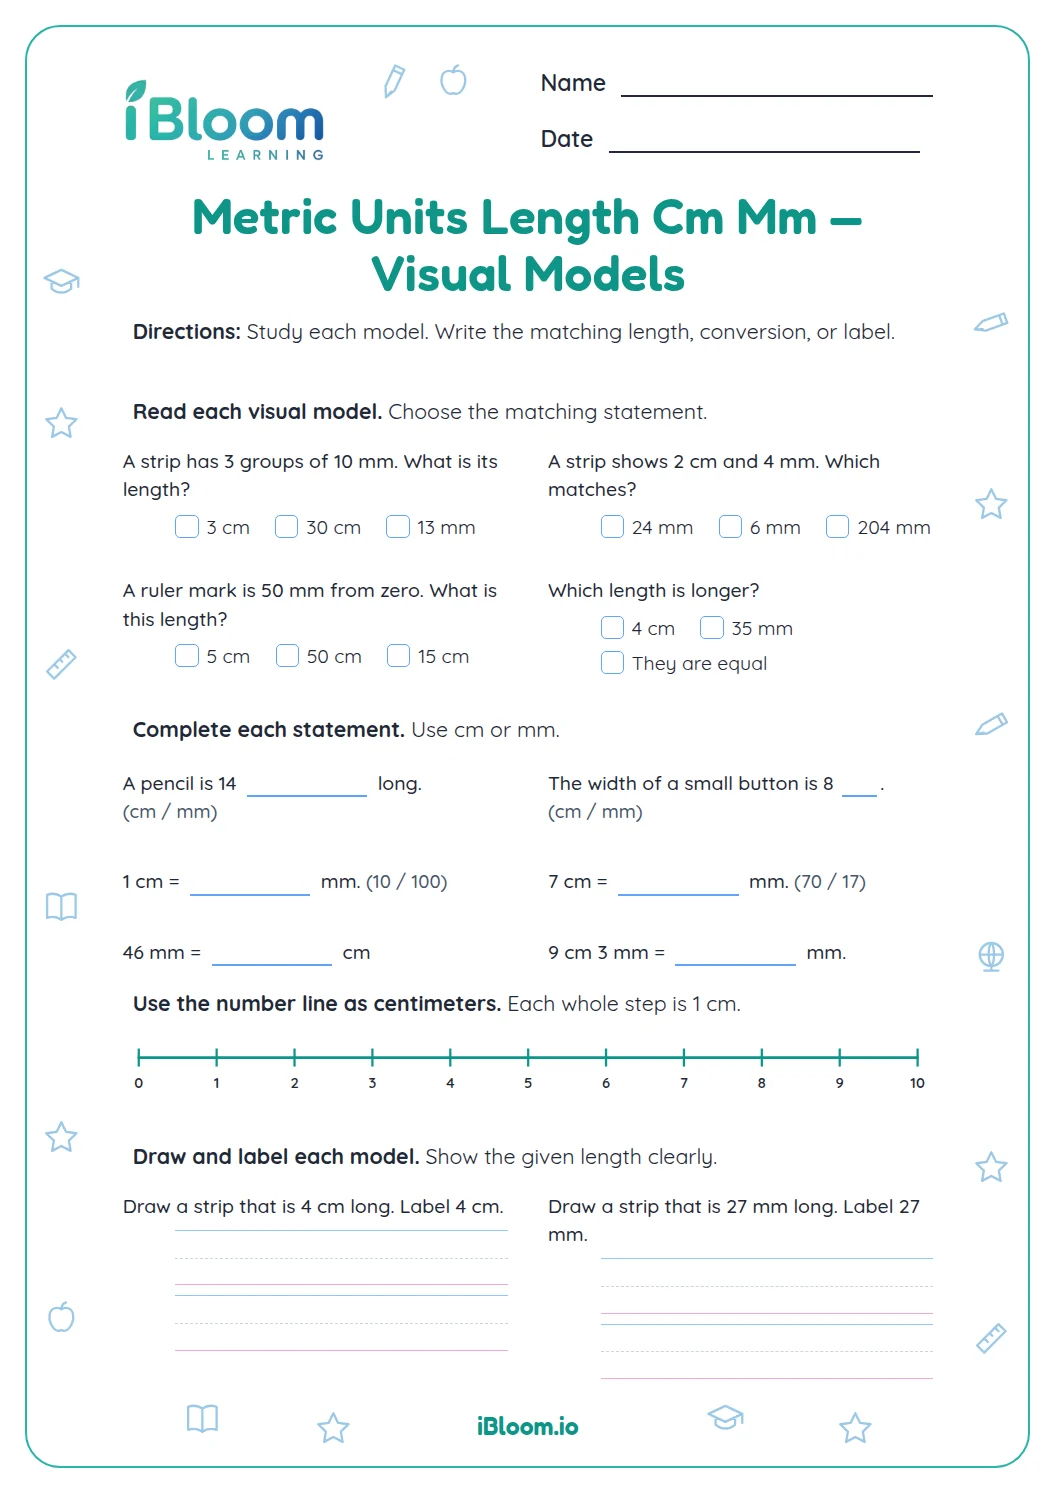

About this worksheet
This Grade 3 printable uses metric visual models to practice measuring lengths in centimeters. Students read eight centimeter rulers, then find differences between measured lengths. Fourteen questions fill three rendered pages total, including the worksheet and key, with a separate answer key. Each ruler begins at zero and shows the object endpoint, so children can read the length directly.
How do students read the centimeter rulers?
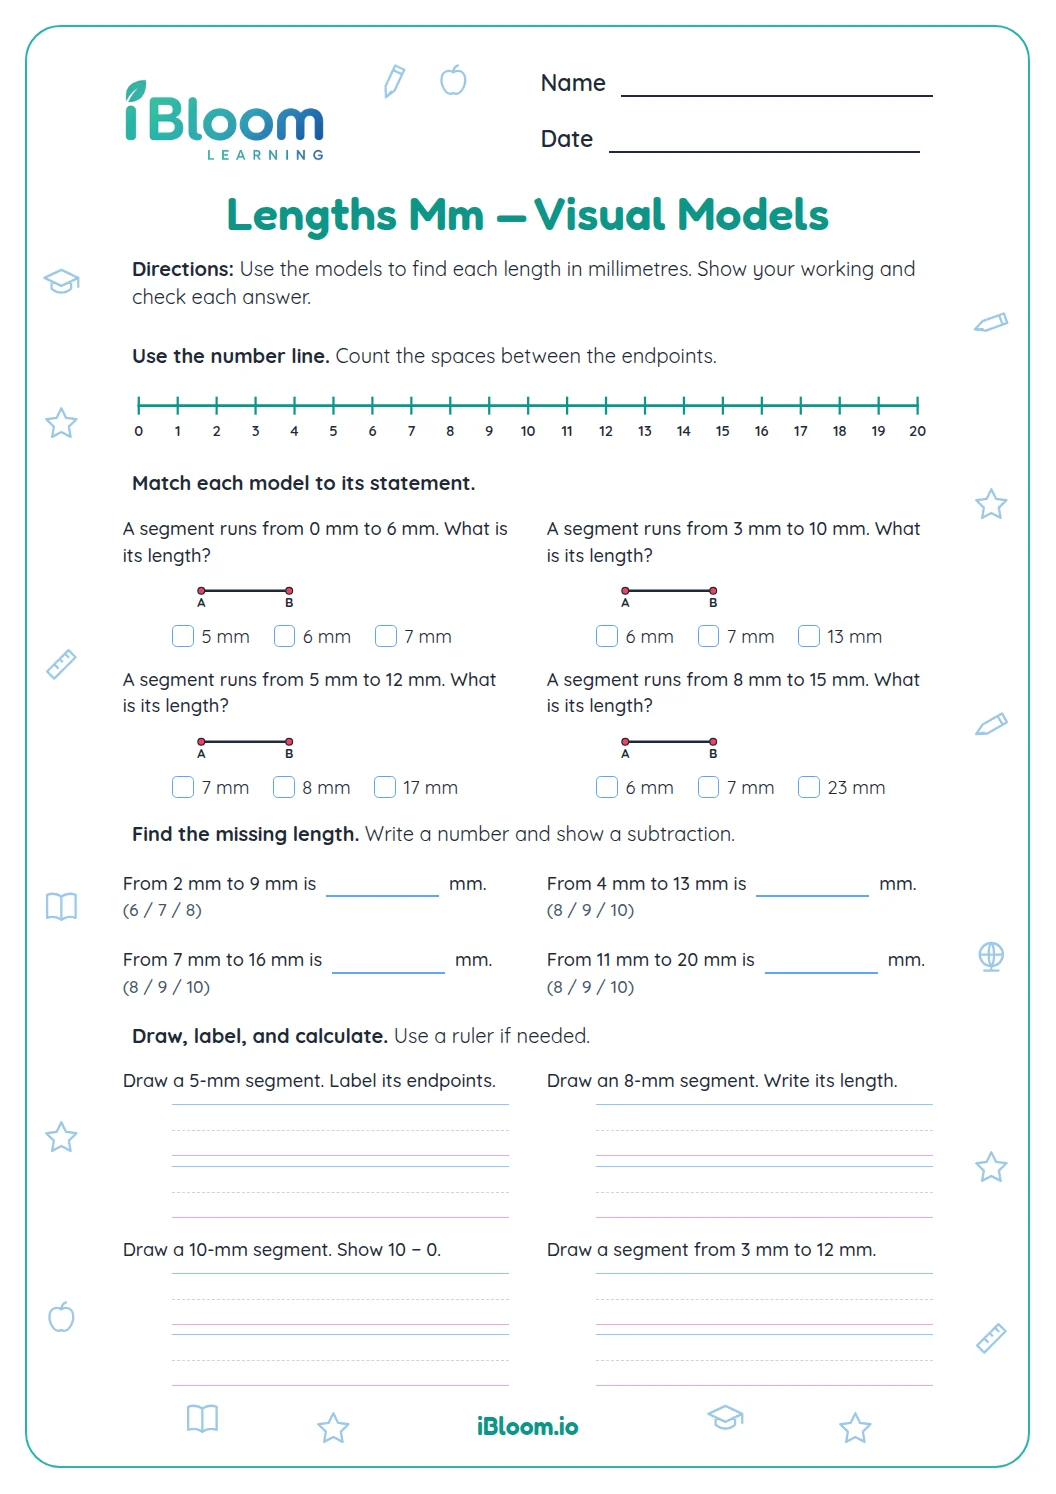
Start at zero and find where the pictured object ends. The number at that point gives its length in centimeters. Each ruler drawing shows one whole-centimeter length.
How can students compare two lengths?
Subtract the shorter length from the longer one to find the difference. Keep centimeters as the unit, since both lengths are measured in centimeters.
- 16 cm − 3 cm = 3 cm
- 2The difference between the two lengths is 3 centimeters.
How can students check a measurement answer?
Read the ruler from zero, then recount the centimeters to the endpoint. For a difference, add the result back to the shorter length and check that it equals the longer length.
How to use this worksheet
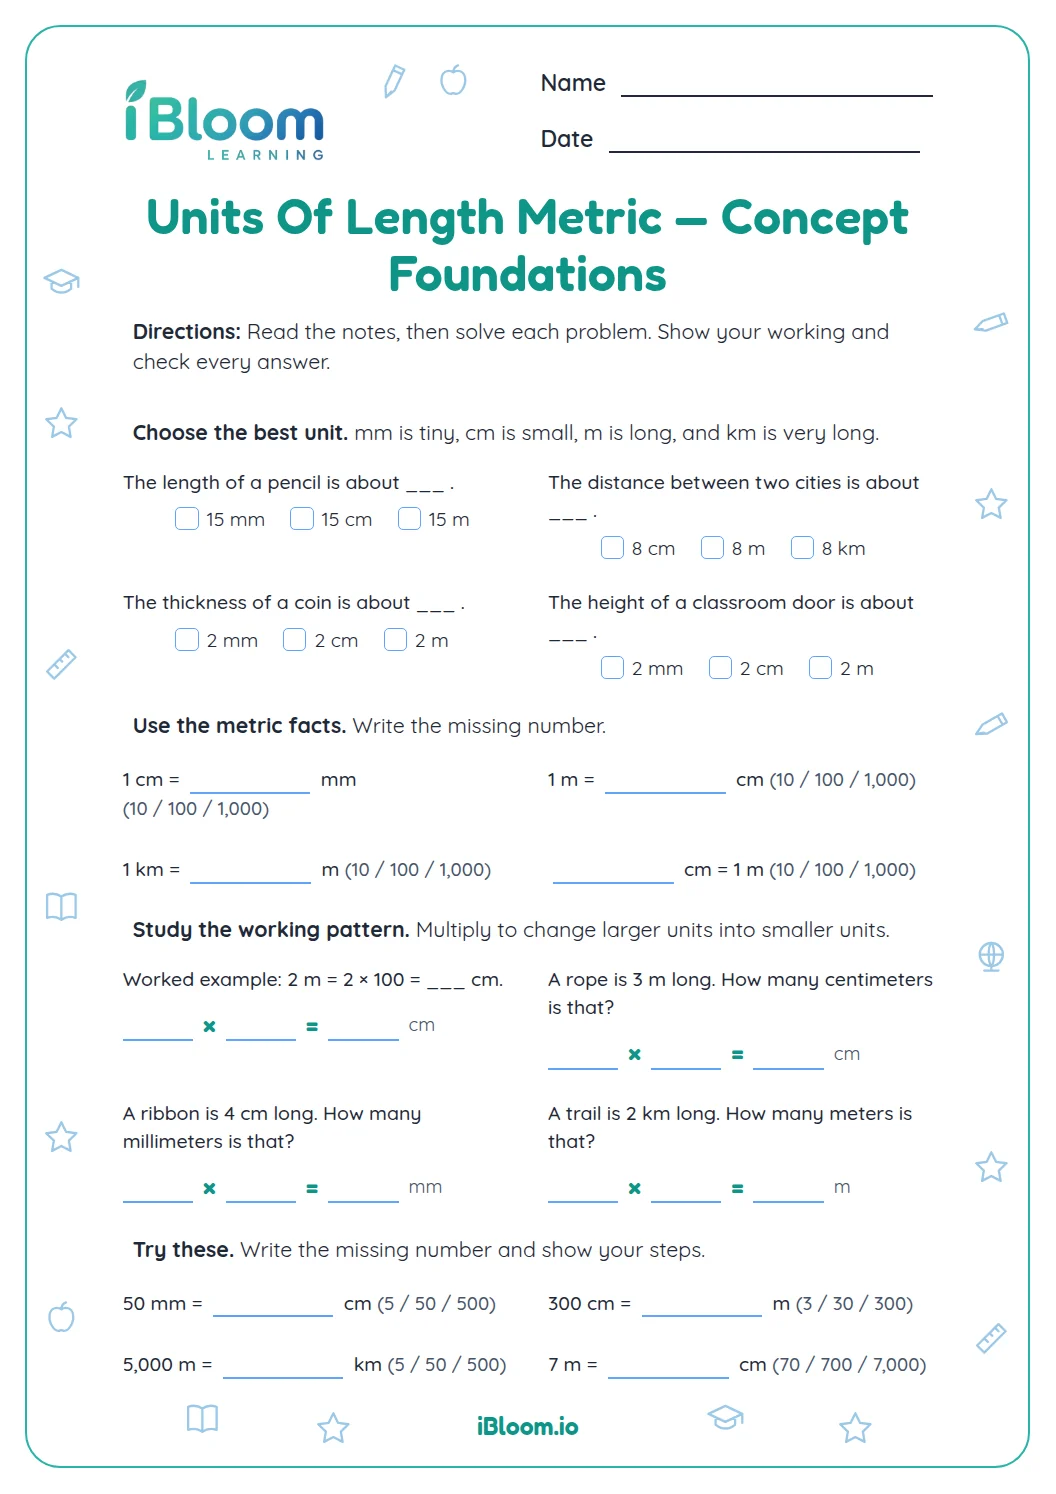
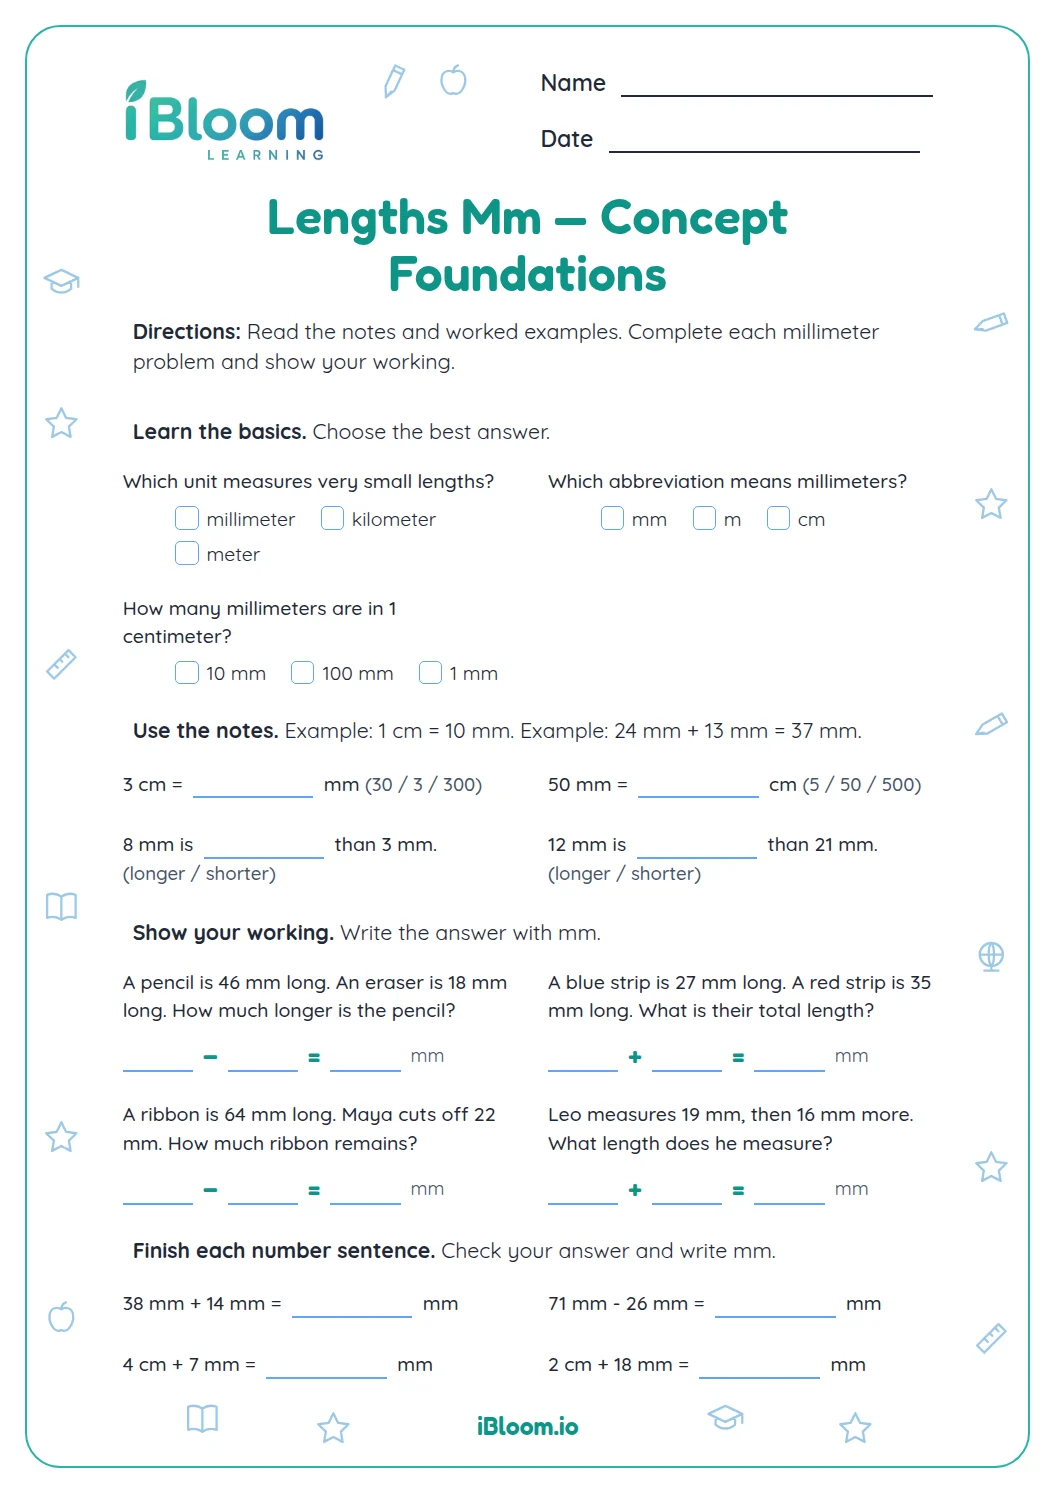
- 1Read the unit labels before using any numbers.
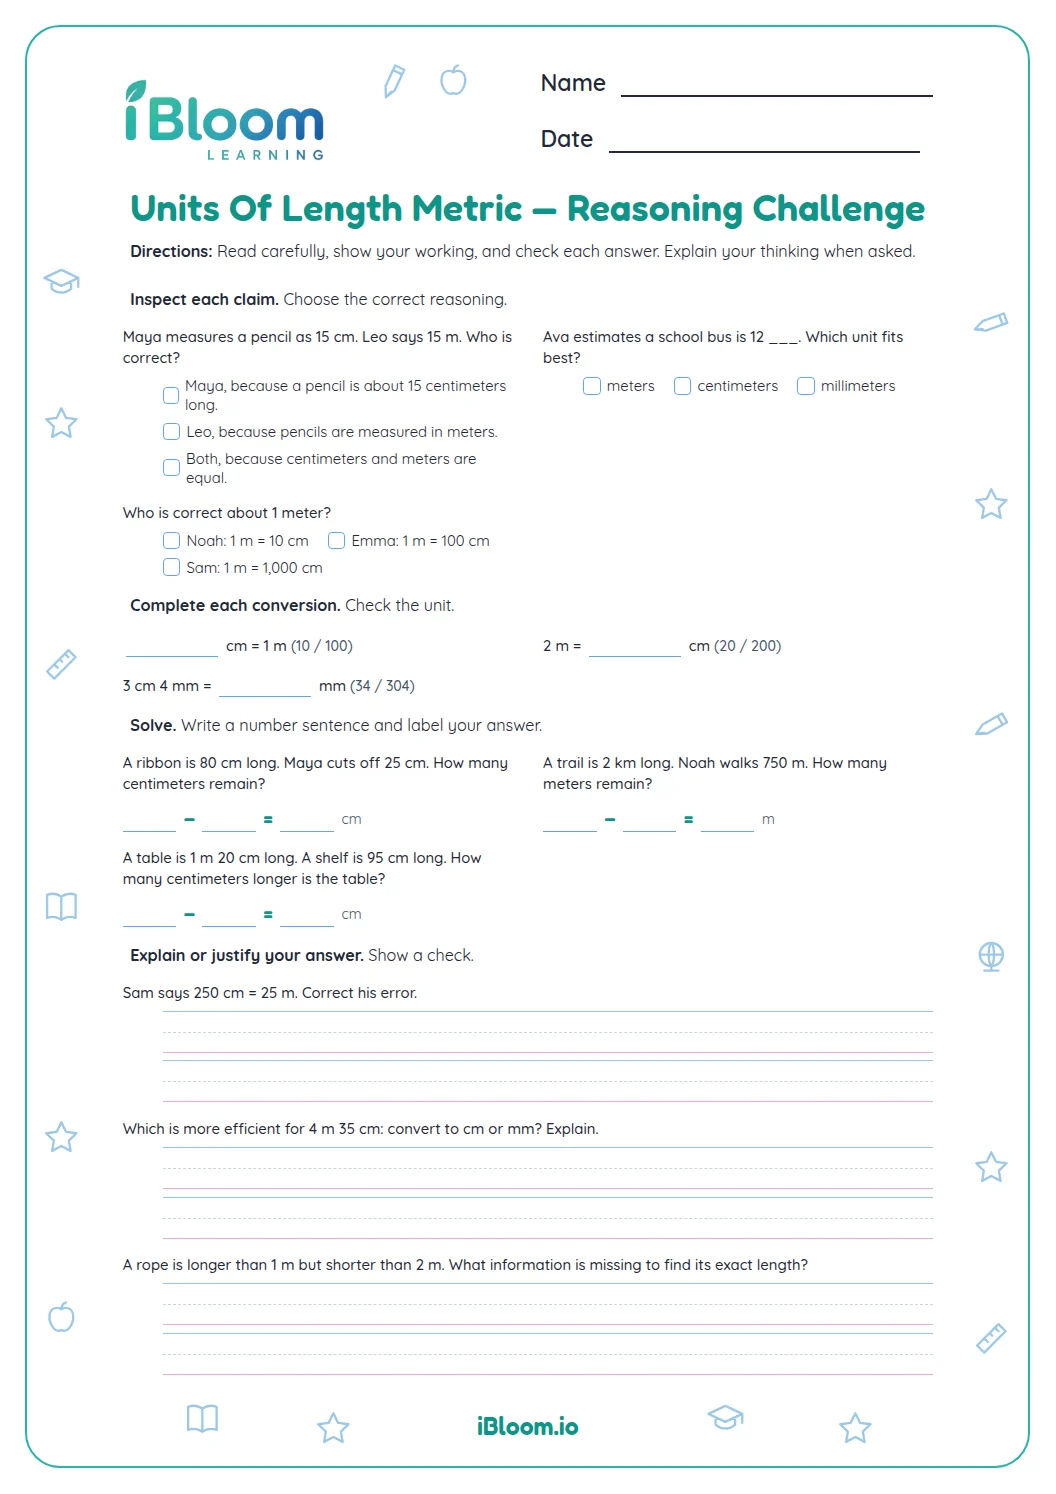
- 2Use the model or unit relationship to find how many smaller units make the larger unit.
- 3Complete the missing measure with the requested unit.
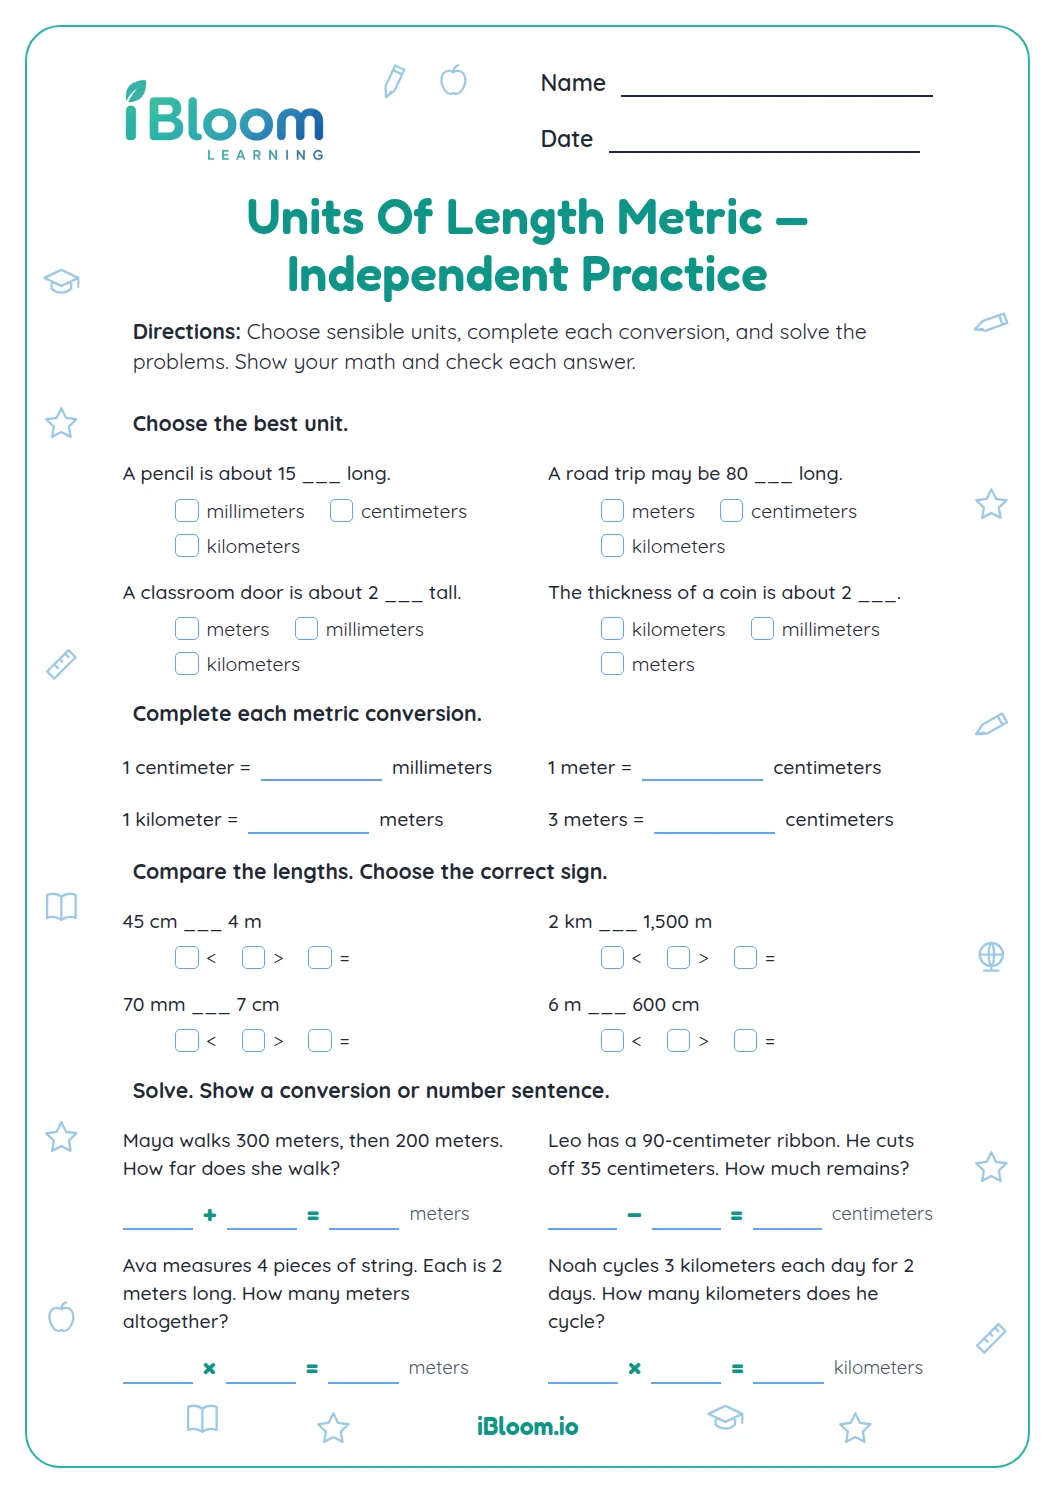
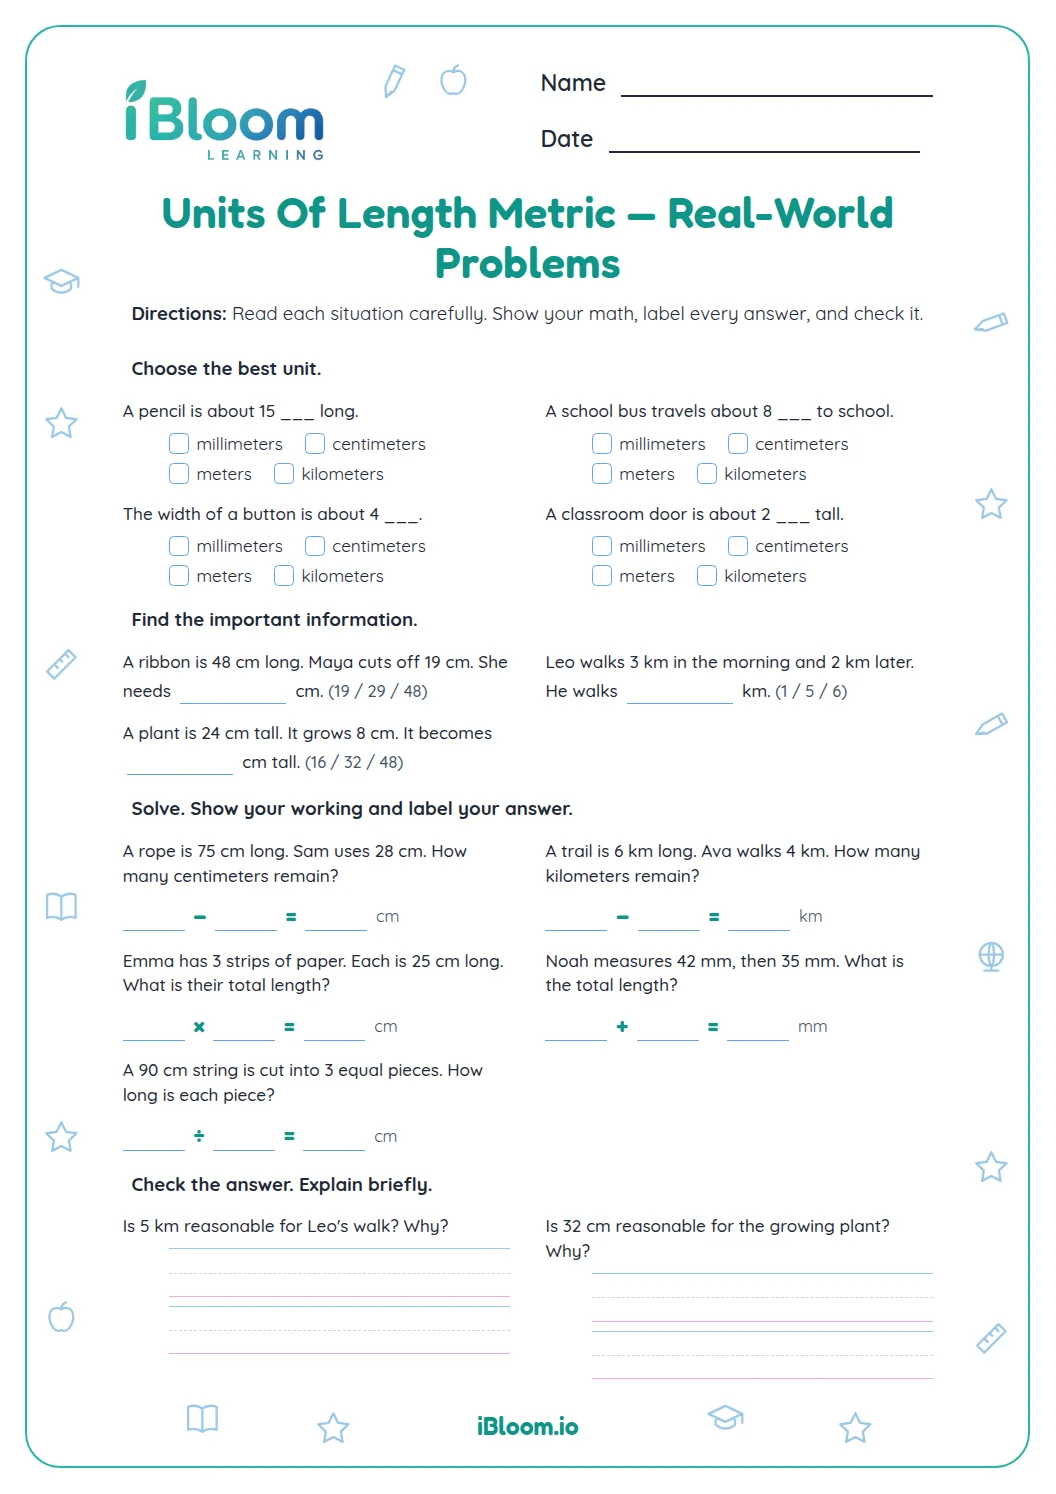
- 4For the final situations, decide whether the lengths should be added or subtracted.
- 5Write the answer with the unit named in the question.
- 6Check the completed relationships and arithmetic with the answer key.
Common mistakes and quick fixes
The mistake
Mixing meters and centimeters
The fix
Check that the answer uses the unit printed after the blank.
The mistake
Multiplying by the wrong factor
The fix
Use the row or model to see whether the relationship is groups of 10, 100, or 1,000.
The mistake
Leaving off a unit in a story problem
The fix
Write cm or km so the answer names the kind of length.
What to practice next
Make more practice
Questions parents and teachers ask
Which metric unit does the worksheet use?
All ruler drawings and length differences use centimeters. Students read the object endpoint on each ruler, then subtract centimeter measurements in the second part. Students read the printed centimeter labels and object endpoints on the drawings. The page keeps the practice focused on direct ruler reading.
How many questions are included?
There are 14 questions across three rendered pages: eight illustrated ruler readings and six subtraction questions about lengths. A separate answer key page gives the answers. The key is separate so students can try the measurement work before checking.
How should a student read each ruler?
Begin at zero and look for the point where the object ends. The number at the endpoint is the object’s length in centimeters. Counting from zero avoids mistaking the object length for a number of ruler marks. The model begins at zero, which makes the endpoint a direct length reading.
How do students find a length difference?
Subtract the shorter measurement from the longer measurement. For example, 6 centimeters minus 3 centimeters leaves a difference of 3 centimeters. Both measurements use centimeters, so students can focus on the subtraction. Subtraction gives the distance between those two endpoints.
Does the answer key include units?
The key gives centimeter units for ruler readings. In the subtraction section, the unit is already printed after each blank, so the key supplies only the missing number. The same unit appears in the ruler drawings and subtraction section.