







About this worksheet
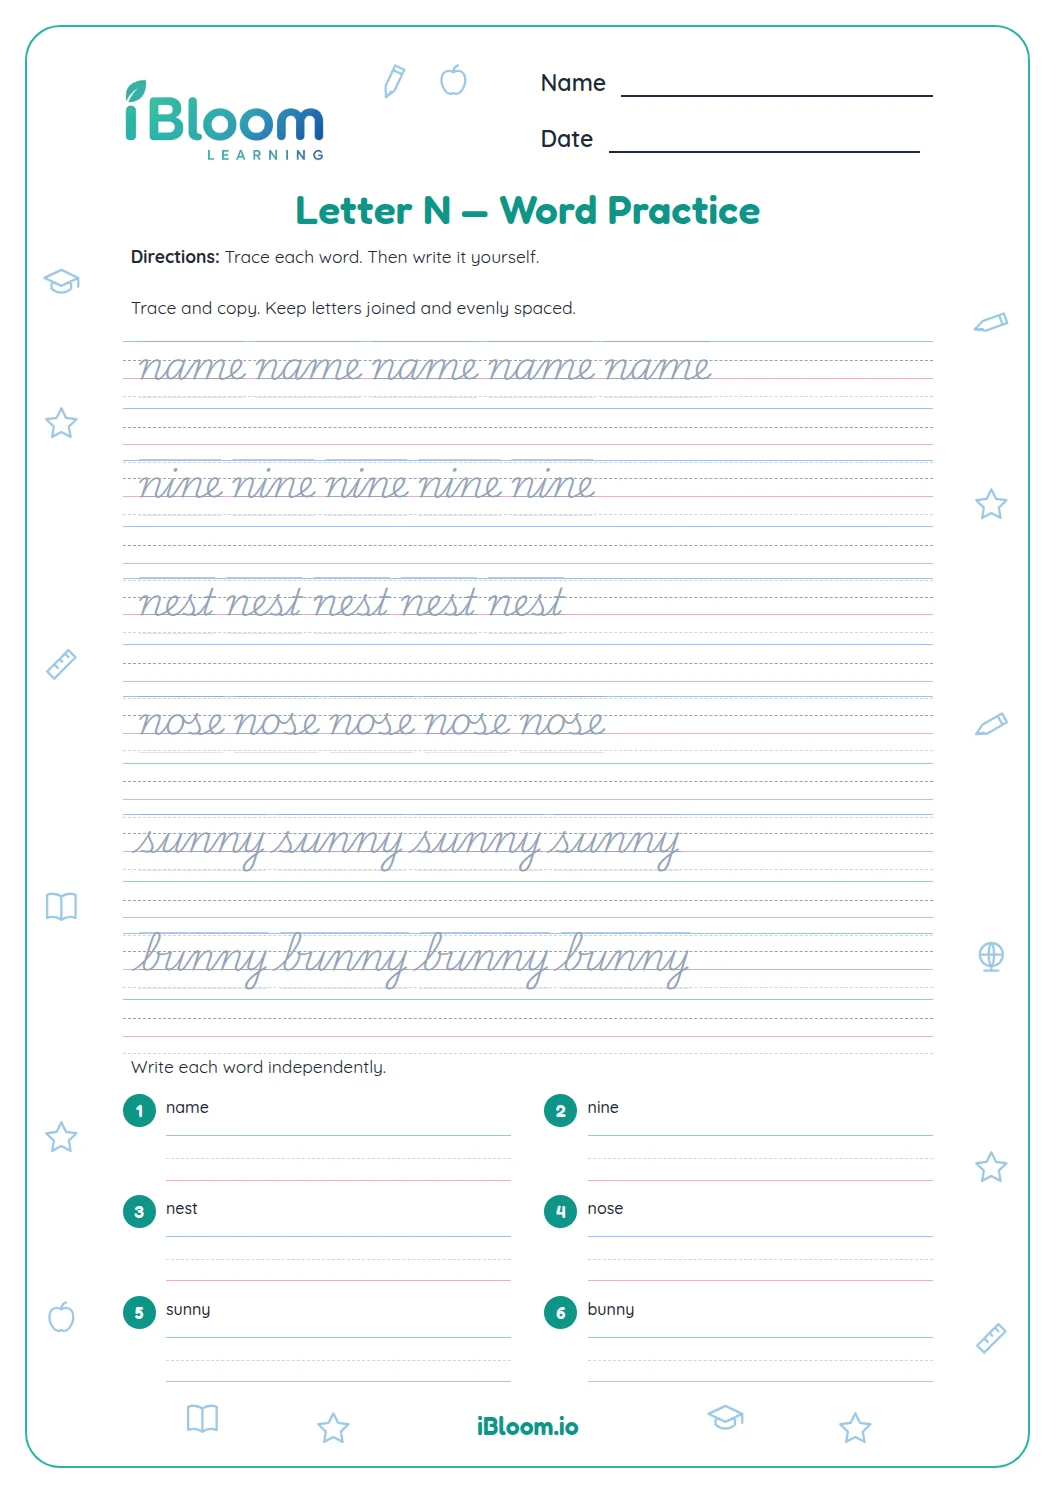
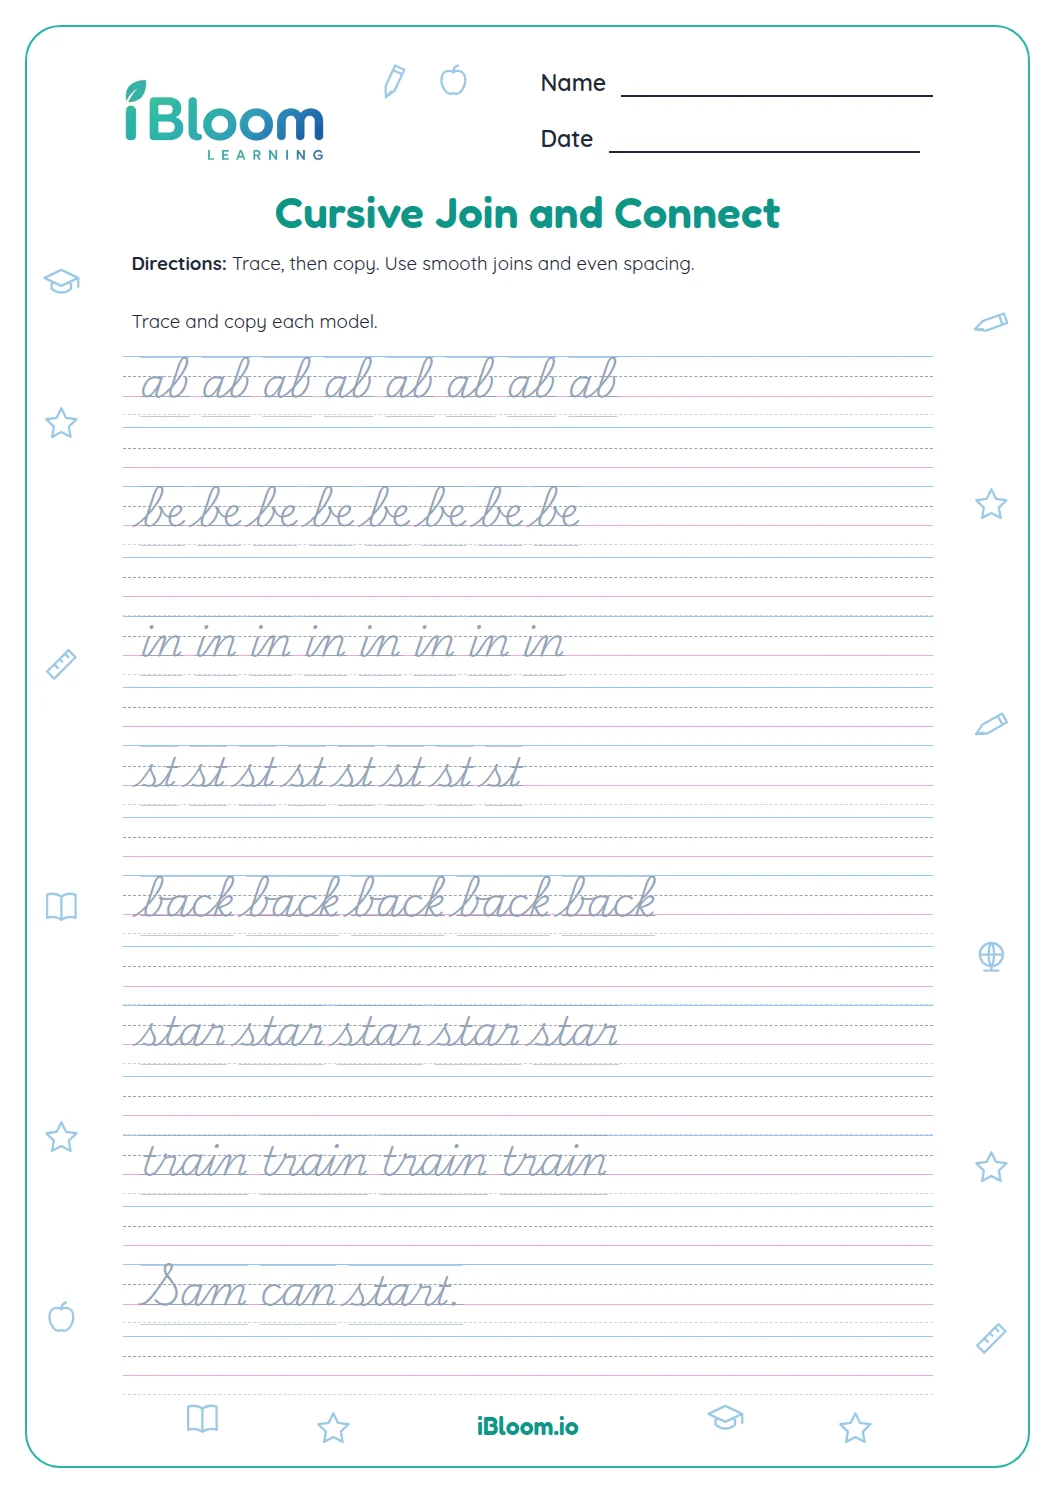
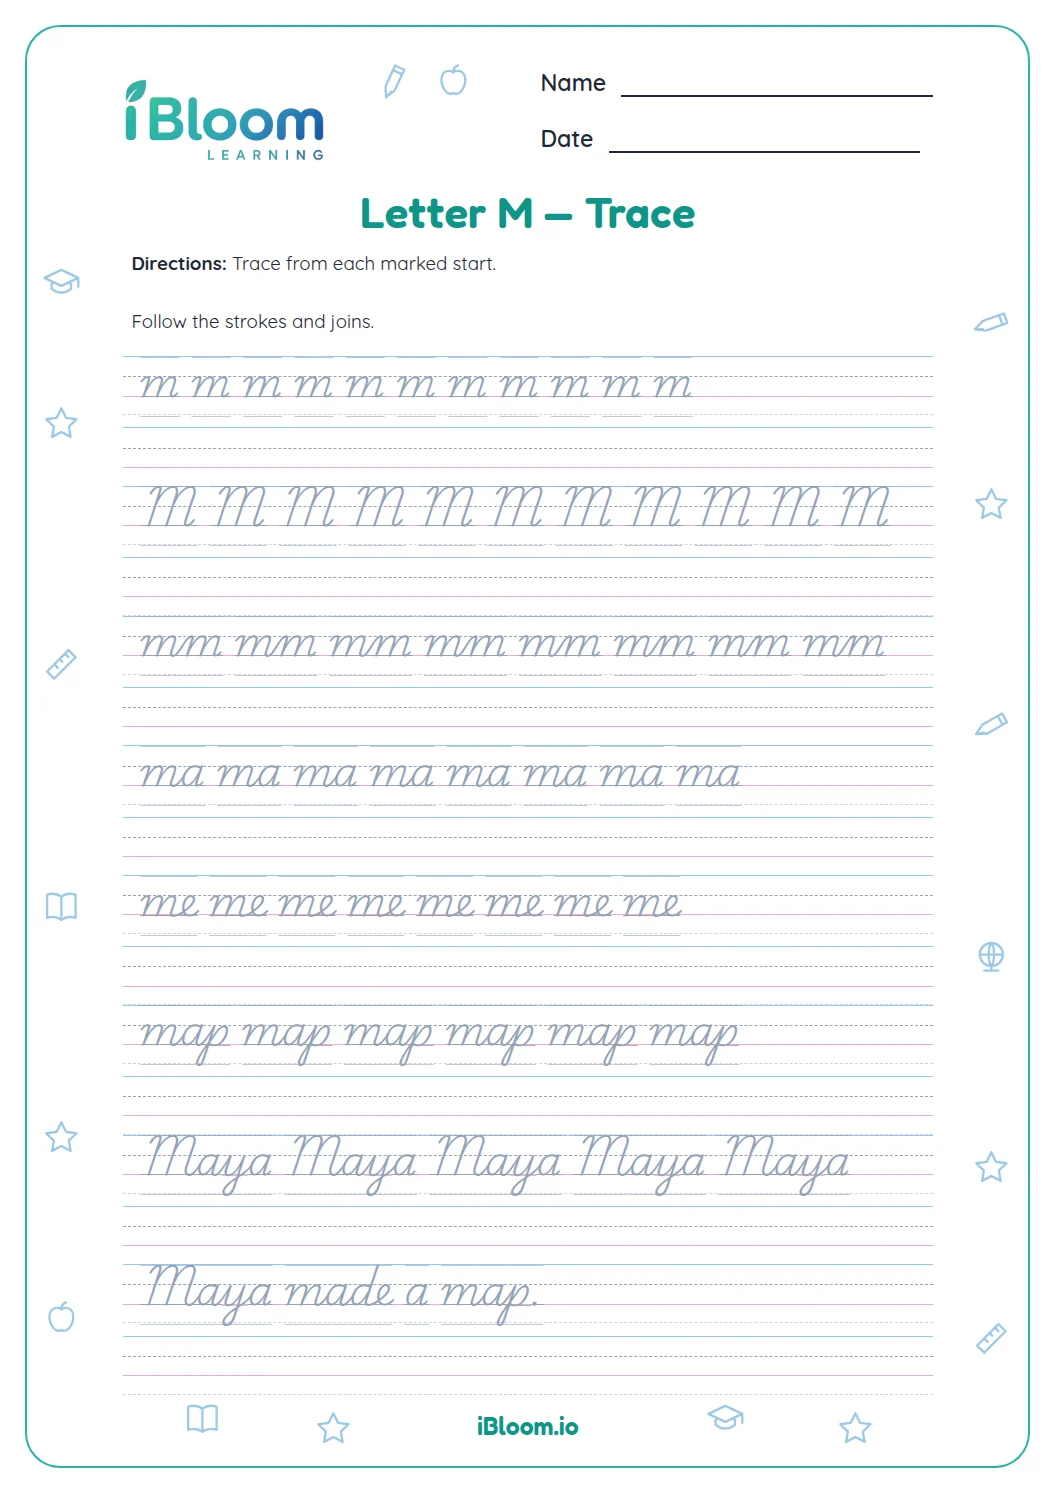
This free printable cursive worksheet gives learners in Grades 2–5 six trace-and-copy tasks focused on uppercase N and lowercase n. Part A repeats the two letter forms separately and together. Part B uses n in the joins nn, na and no, the names Nina and Noah, and a short sentence. Each task has a gray cursive model to trace and an empty handwriting row for copying. An adult can demonstrate the starting point and movement before the child traces. The separate model key repeats the target forms for comparison. Use the same letter style throughout, paying attention to height, smooth turns and spacing.
Which N forms does the sheet practice?
Part A starts with repeated lowercase n and uppercase N, then alternates the two forms on one row. Each task provides a gray tracing row and a blank copying row with handwriting guides. Part B progresses through nn, na, no, the names Nina and Noah, and the sentence “Nina and Noah.”
The uppercase model is taller, and its entry curve differs from the lowercase form. Compare each letter with its own model and use the top guide for the tall uppercase strokes.
How should an adult model the lowercase n?
Begin at the model’s entry stroke near the baseline. Rise toward the middle guide, come back down, then retrace upward to make the rounded shoulder. Bring the stroke down to the baseline and finish with the short exit stroke. Follow the printed shape slowly and keep the movement continuous.
Demonstrate uppercase N separately using the displayed model. Follow its entry curve and tall first downstroke, retrace upward into the broad connecting curve, then return to the baseline along the second downstroke and finish the exit. Trace it once with a finger before using a pencil.
- 1Trace Nina and Noah on the gray model.
- 2Copy the names on the empty handwriting row.
- 3Keep the n forms at the same height.
- 4Leave a clear space between the names.
What should we check after copying?
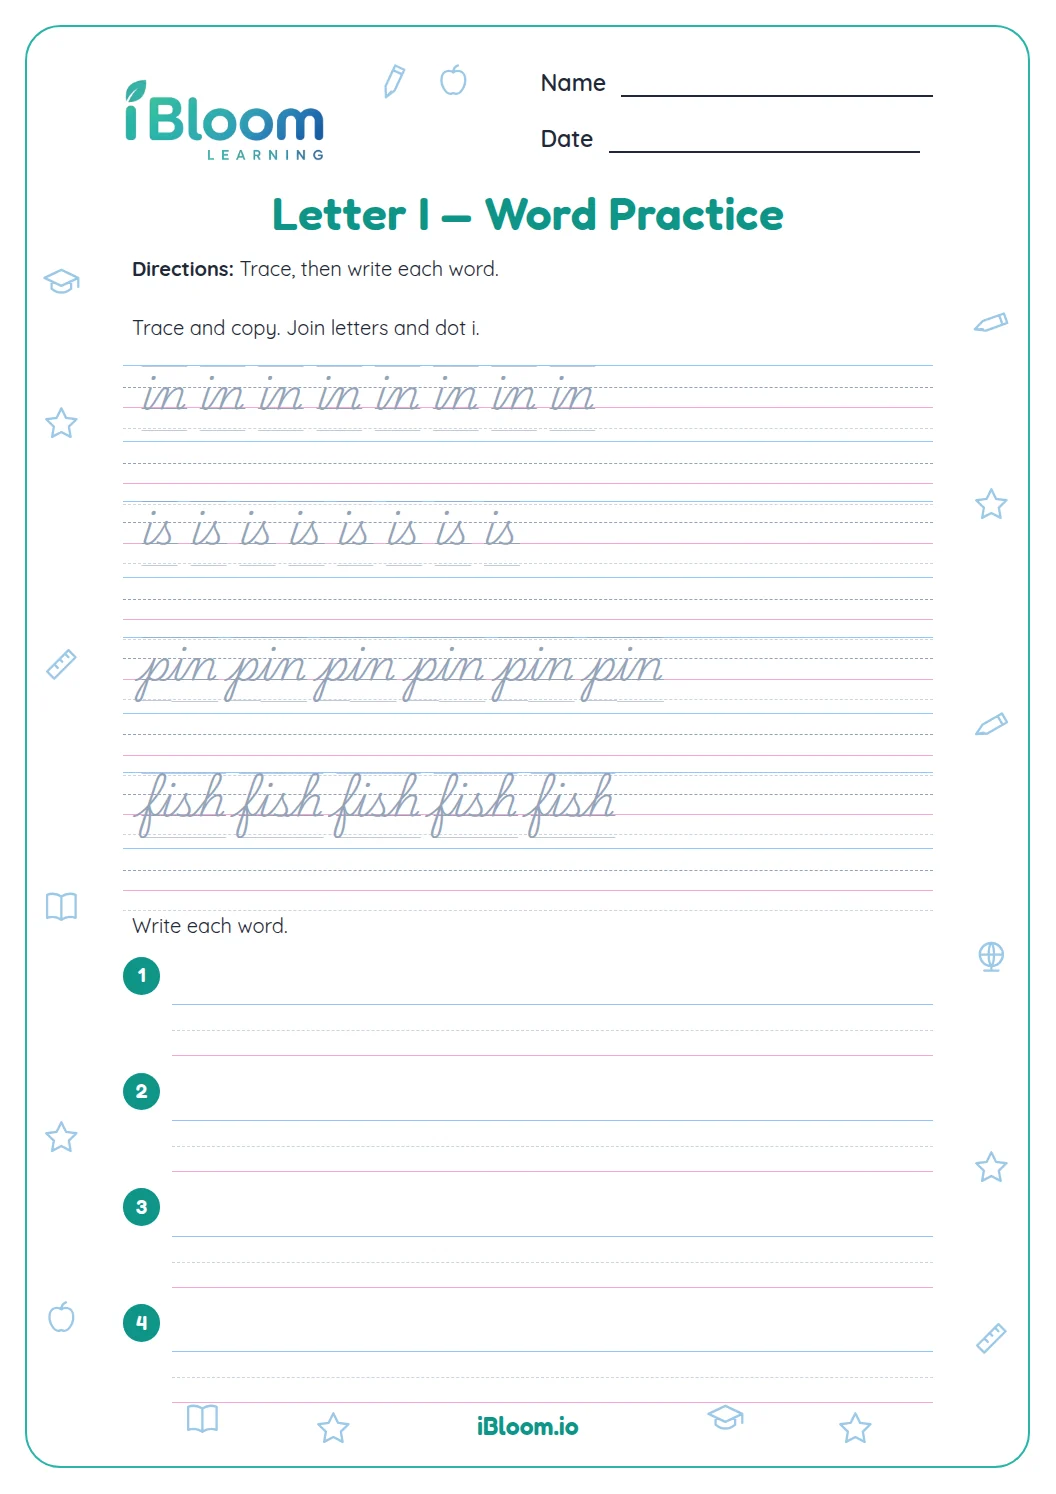
Look at one copied item beside its model. Check whether lowercase letters stay at a consistent height, the strokes return to the baseline and separate words have visible spaces. For a join such as ni, complete the connected letter strokes before adding the dot.
Choose one letter to improve and trace that model again. A brief, careful comparison is more useful than filling extra lines with the same uncorrected shape. The model key is a reference for letter forms; an adult observes the child’s movement while writing.
How to use this worksheet
- 1Point out uppercase N and lowercase n in the first two tasks.
- 2Demonstrate each form slowly while the child follows with a finger.
- 3Trace each gray model and copy it on the empty row immediately afterward.
- 4In Part B, follow the joins nn, na and no, then copy the names and sentence.
- 5Compare one copied item with its model and repeat the stroke that needs attention.
Mistakes to notice and how to help
The mistake
Making lowercase n as tall as uppercase N.
The fix
Use the middle guide for the short lowercase strokes and compare the two models.
The mistake
Adding an extra shoulder so n looks like m.
The fix
Follow the n model’s single rounded shoulder after its entry stroke.
The mistake
Lifting between letters in nn and leaving a gap.
The fix
Trace through the connecting stroke in one movement, then copy the same join.
What to practice next
Make more practice
Questions parents and teachers ask
Does the sheet include both uppercase and lowercase N?
Yes, Part A includes separate rows for lowercase n and uppercase N, followed by a row that alternates them. The model for each form is printed in gray for tracing. Children then copy onto the empty handwriting row, comparing the height and shape with the matching model.
How many handwriting tasks are included?
There are six tasks, with three in each part. Part A practices letter forms, while Part B practices nn, na and no, the names Nina and Noah, and the sentence “Nina and Noah.” Every task includes a tracing row and an empty copying row, giving children a chance to follow the model and then reproduce it independently.
What should the adult demonstrate before tracing?
Demonstrate where the model starts and how the pencil moves through its strokes. Begin with lowercase n, showing its entry, short downstroke, rounded shoulder and exit. Then demonstrate uppercase N separately. Watch the child trace once so you can correct direction before the child starts copying independently.
Should my child lift the pencil between joined letters?
Keep the main strokes connected in the short joins and words, following the model. For ni, finish the connected strokes before adding the dot over i. Lift the pencil between separate repeated items, leaving a clear space so each copied group can be compared with its own model.
How should I use the model answer key?
Use the key to compare the target forms with the child’s copied letters and words. Look for consistent height, baseline contact and recognizable joins. Observe stroke direction during writing as well. Select one feature to improve, demonstrate it again and let the child make a careful second attempt.