






About this worksheet
This Grade 1 handwriting printable gives children six tracing rows for uppercase and lowercase print letters A through R. Each row groups three uppercase letters with their lowercase forms, with space to trace and print the group. The answer key shows the letters in each row for checking.
Aligned to L.1.1a
How do you form a capital letter?
Part A gives practice tracing capital letters A through H. Follow the dotted model from its starting point, then print the letter again on the line. Notice where straight lines meet and where curves turn.
How do lowercase letters differ?
Part B traces lowercase a through h. Some letters are tall, while others stay close to the middle line. Compare each lowercase form with its capital partner, then copy the shape carefully.
What helps make letters easy to read?
Move slowly enough to keep each letter’s parts distinct. A clear starting point and steady direction help the child form a familiar printed shape.
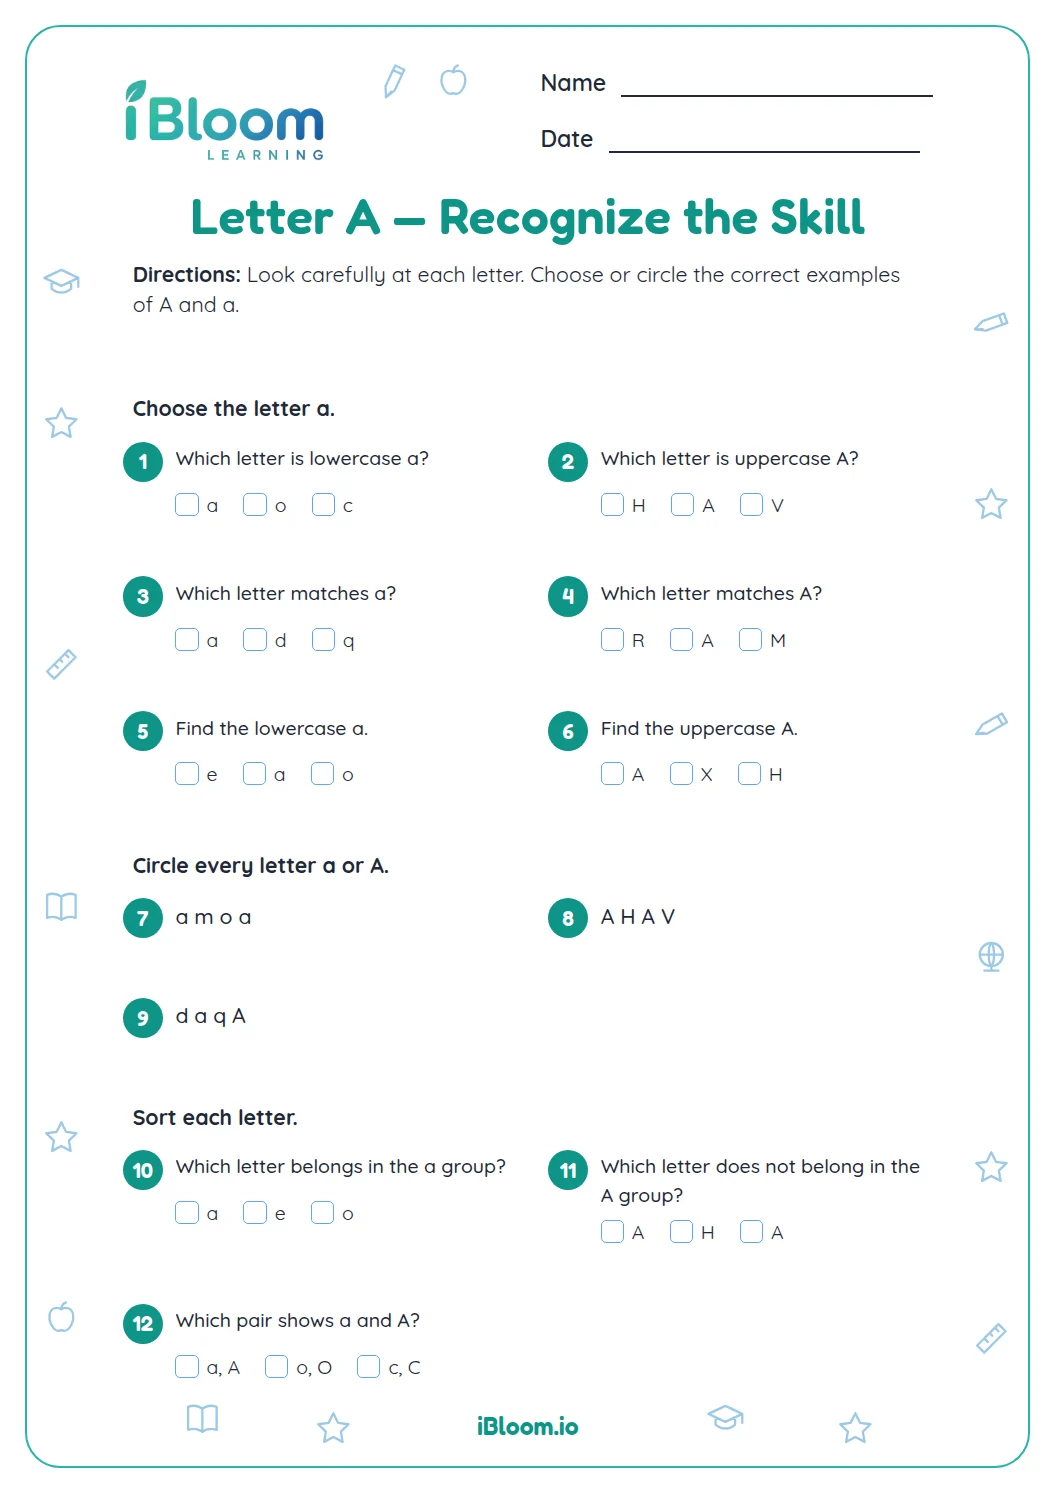
- 1Trace A, following the dotted strokes.
- 2Print A once on the line.
- 3Check that the two slanting sides meet at the top.
How to use this worksheet
- 1Name each letter before tracing it.
- 2Follow the dotted form slowly from its starting point.
- 3Print the same letter on the copy line.
- 4Compare the uppercase and lowercase forms in each pair.
- 5Use the key to confirm which letter was practiced.
Common mistakes and quick fixes
The mistake
Rushing through the curves
The fix
Slow down and follow the dotted path in small controlled strokes.
The mistake
Mixing uppercase and lowercase forms
The fix
Check whether the model is tall and capitalized or lowercase.
The mistake
Leaving out a line or curve
The fix
Pause after copying and compare each part with the dotted model.
Common Core alignment
This practice connects the worksheet skill to classroom learning goals.
Print upper- and lowercase letters clearly.
On this sheet: The page models uppercase and lowercase print forms for tracing practice.
Show the official wordingHide the official wording
Print all upper- and lowercase letters.
What to practice next
Make more practice
Further reading
Questions parents and teachers ask
How can I help a child practice printing letters?
Print-letter practice means forming uppercase and lowercase letters clearly. This worksheet has six rows, from ABCabc through PQRpqr, for tracing and printing. The answer key repeats each group so an adult can check that the correct letters were practiced.
Does the printable include an answer key?
Yes. A separate answer key gives the expected answers for checking completed work. For an open-ended response, it offers a sample so an adult can compare the child’s idea without expecting identical wording. Review it after the learner finishes, then discuss any answer that needs another look.
How should I introduce the activity?
Read the short directions together and model one item from the first part. Then let the learner work through the remaining questions at a comfortable pace. Check the key after finishing and talk through one item that felt tricky.
Can a child complete this independently?
A child who knows the skill can try most items independently. An adult can read directions aloud or talk through one example first, then invite the child to explain a choice or check a result. Offer help with directions as needed, and give the learner time to think when useful, too.
How long does this worksheet take?
About 15 minutes, depending on how carefully the child traces and prints each group. There are six rows covering 18 uppercase and 18 lowercase letters, A through R. The separate key shows the expected letter groups and helps check each row.