




About this worksheet
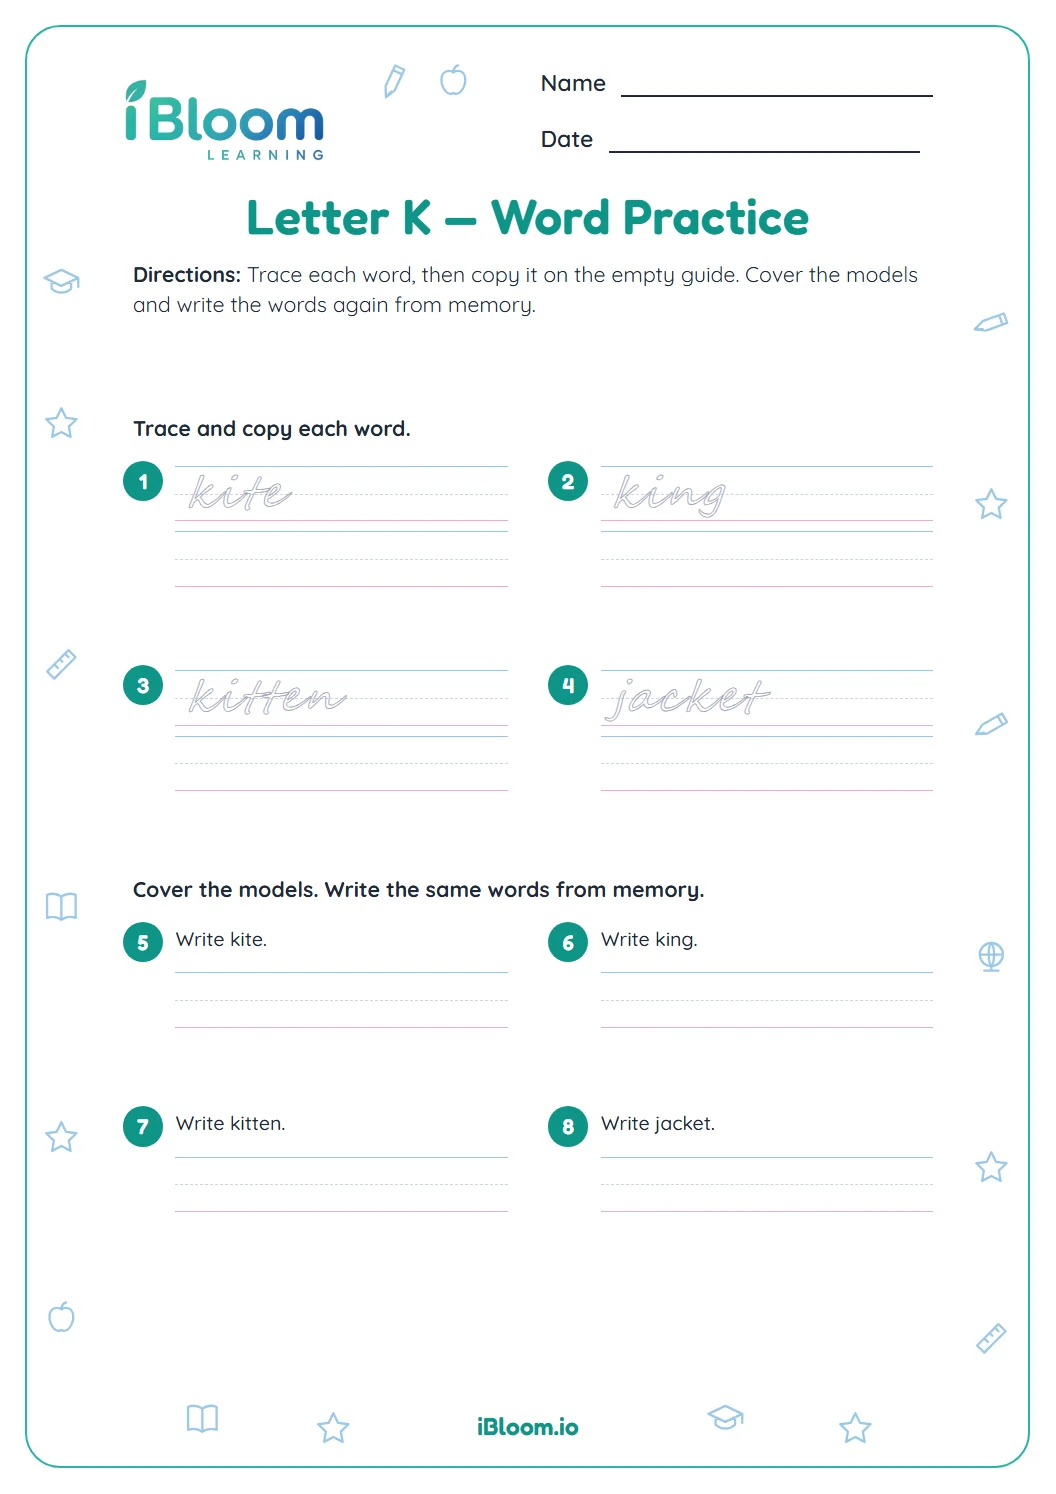
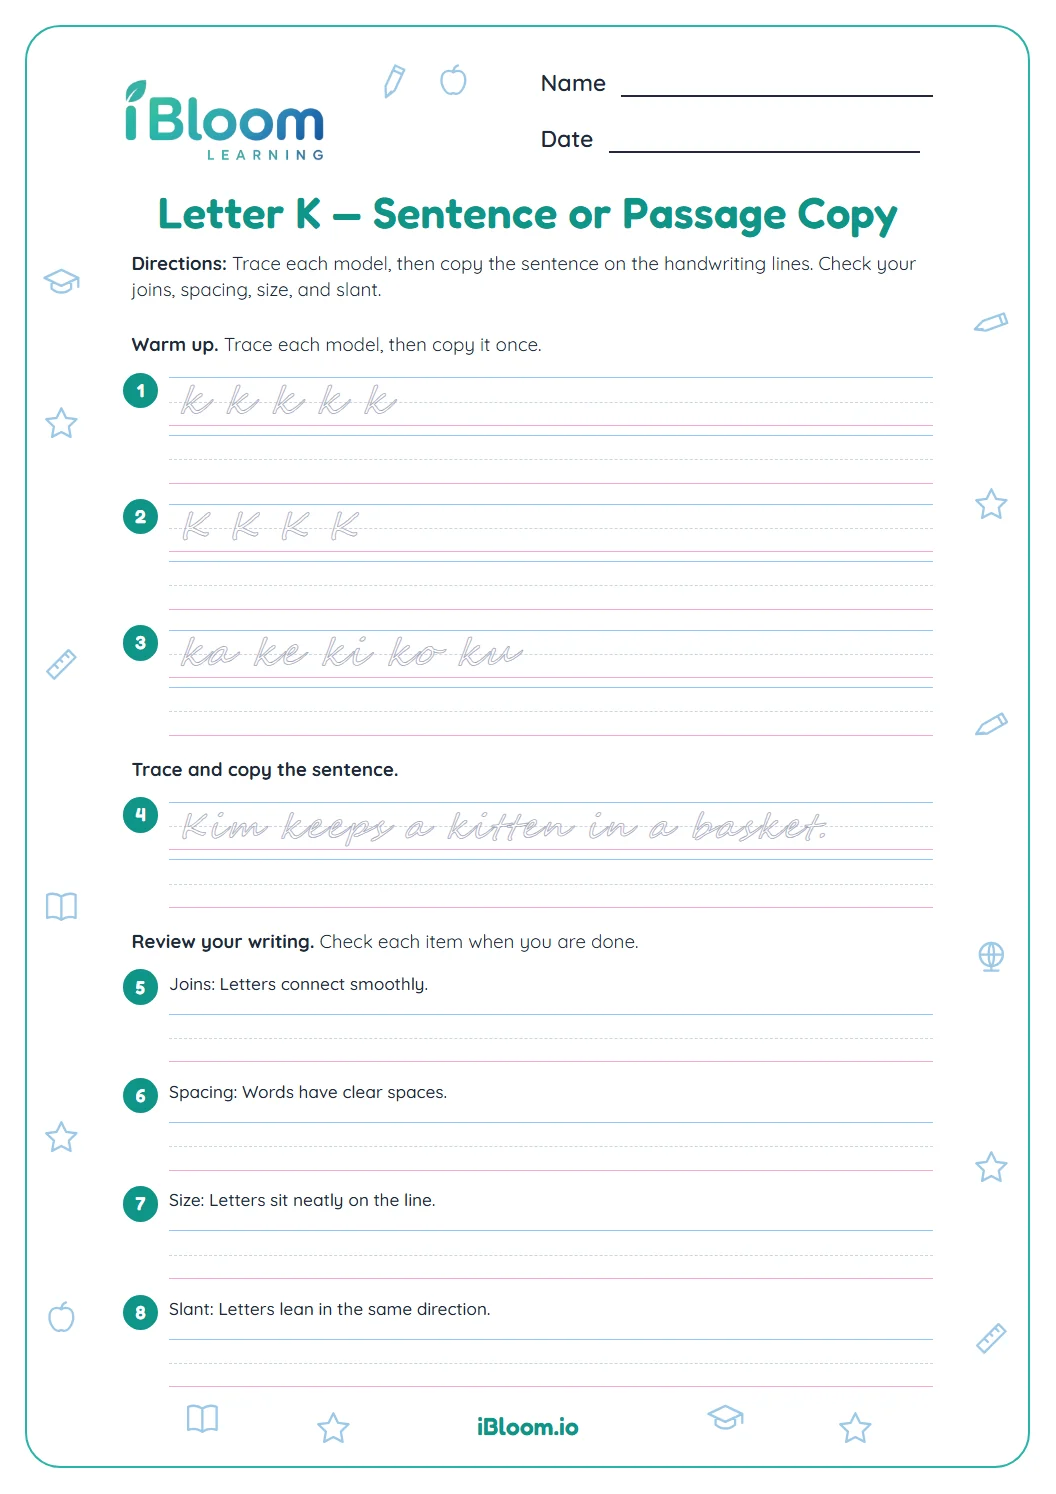
This cursive worksheet gives students repeated practice forming lowercase k and uppercase K with clear stroke patterns. Part A begins with single-letter models and moves into letter joins. Part B applies K in familiar words and a complete sentence, including a capitalized name. Each item prints a gray trace model and room to copy it on handwriting lines. The answer key shows the expected text; students may form letters differently while preserving legible cursive shapes and connections.
How does lowercase k begin?
Cursive lowercase k begins with a tall entry stroke that rises to the top line and returns to the baseline. From the stem, the letter forms two angled arms before continuing into its exit stroke.
Part A separates single-letter practice from short joins so students can attend to the shape before speed.
- 1Trace “k k k k,” then write the same lowercase form on the open guide.
How can students connect k to another letter?
A join should continue naturally from the exit stroke of k into the next letter’s entry stroke. Keep each pair distinct and leave a small gap between practice groups.
The ka, ke, ki, ko and ku groups provide several vowel connections without crowding the line.
- 1“ka ke ki” gives three separate k-to-vowel connections to trace and copy.
How does K practice work in a full word?
Words let students keep the letter form while moving through connected strokes. A capital K appears at the beginning of a name, while lowercase k appears inside words.
Part C brings the letter into short, familiar words and then a complete sentence.
- 1“Kai keeps a kite.” begins the name with uppercase K and uses lowercase k in “keeps” and “kite.”
How to use this worksheet
- 1Sit with the paper comfortably tilted and keep the writing hand relaxed.
- 2Trace each gray form slowly, following its entry, main stroke and exit.
- 3Copy the same form on the open line, watching the baseline and height.
- 4Leave a small space between join groups and words.
- 5Read the final sentence once and check each K form for legibility.
Common mistakes and quick fixes
The mistake
Making lowercase k too short.
The fix
Bring the tall stem to the top line before adding the arms.
The mistake
Starting uppercase K like lowercase k.
The fix
Use a full-height capital form and keep its arms distinct.
The mistake
Lifting the pencil between joined letters.
The fix
Follow the exit stroke into the next letter’s entry when the forms connect.
What to practice next
Make more practice
Questions parents and teachers ask
Does the worksheet practice both forms of K?
Yes. The first two items focus on lowercase k and uppercase K separately. The next items connect lowercase k to vowels, and the word and sentence practice includes both lowercase forms and an uppercase K at the beginning of a name.
How should a student follow the stroke model?
Begin at the marked entry point and follow the tall stem before forming the arms of k. Move slowly enough to keep the letter on its guide lines. Then copy the model on the open row with a smooth exit stroke.
Why practice ka, ke, ki, ko and ku?
Each group asks students to connect k to a different vowel. Repeating the join builds control over the exit and entry strokes. Separate groups leave room to pause and check each connection before moving to the next one.
What should I look for when checking a cursive K?
Look for a clear lowercase stem and arms, or a full-height uppercase K with distinct angled strokes. The letters should remain recognizable and rest on the guide line. Some students’ cursive forms vary, so legibility and the intended letter matter.
Can students trace the words more than once?
Yes. The printed model and copy line provide one trace and one independent copy. A student who wants extra practice can repeat a word on lined paper, focusing on the K form and the connections between letters. Stop when the forms become rushed; a few careful copies are more useful than a long row of uneven ones.