




About this worksheet
This free printable worksheet helps Grade 4 students move from spotting plot parts to writing them. Children first label five mixed-up events from a story about Maya, a rusty key and a stuck trunk lock as the beginning, rising action, climax or ending. They then plan their own story one plot part at a time and write a short story about finding something unexpected, rereading it to check each part. It practices CCSS W.4.3.a and W.4.3.e: setting up a situation, ordering events and writing a conclusion. A separate answer key gives the labels and a sample plan.
Aligned to W.4.3.a and W.4.3.e
What is on this plot structure worksheet?
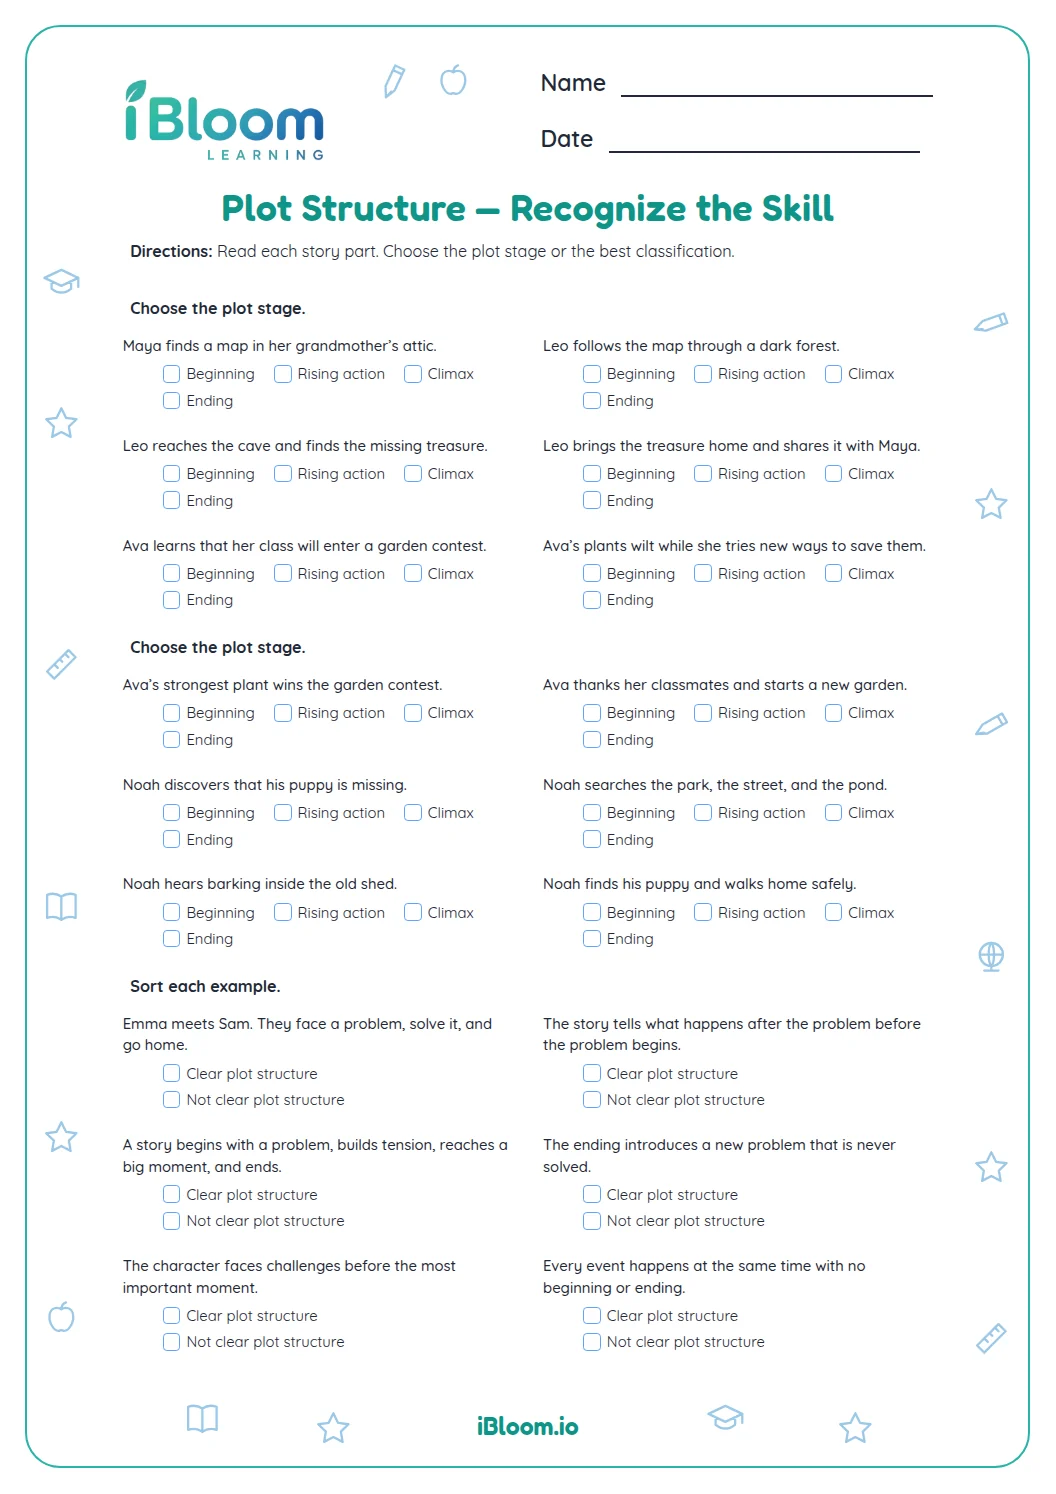
The worksheet has three parts. In Part A, children read five events from a story about Maya and a locked trunk in her grandmother's attic and choose the plot part for each one. The events are mixed up, and two of them are rising action, so each one has to be placed by what it does, not by where it sits on the page.
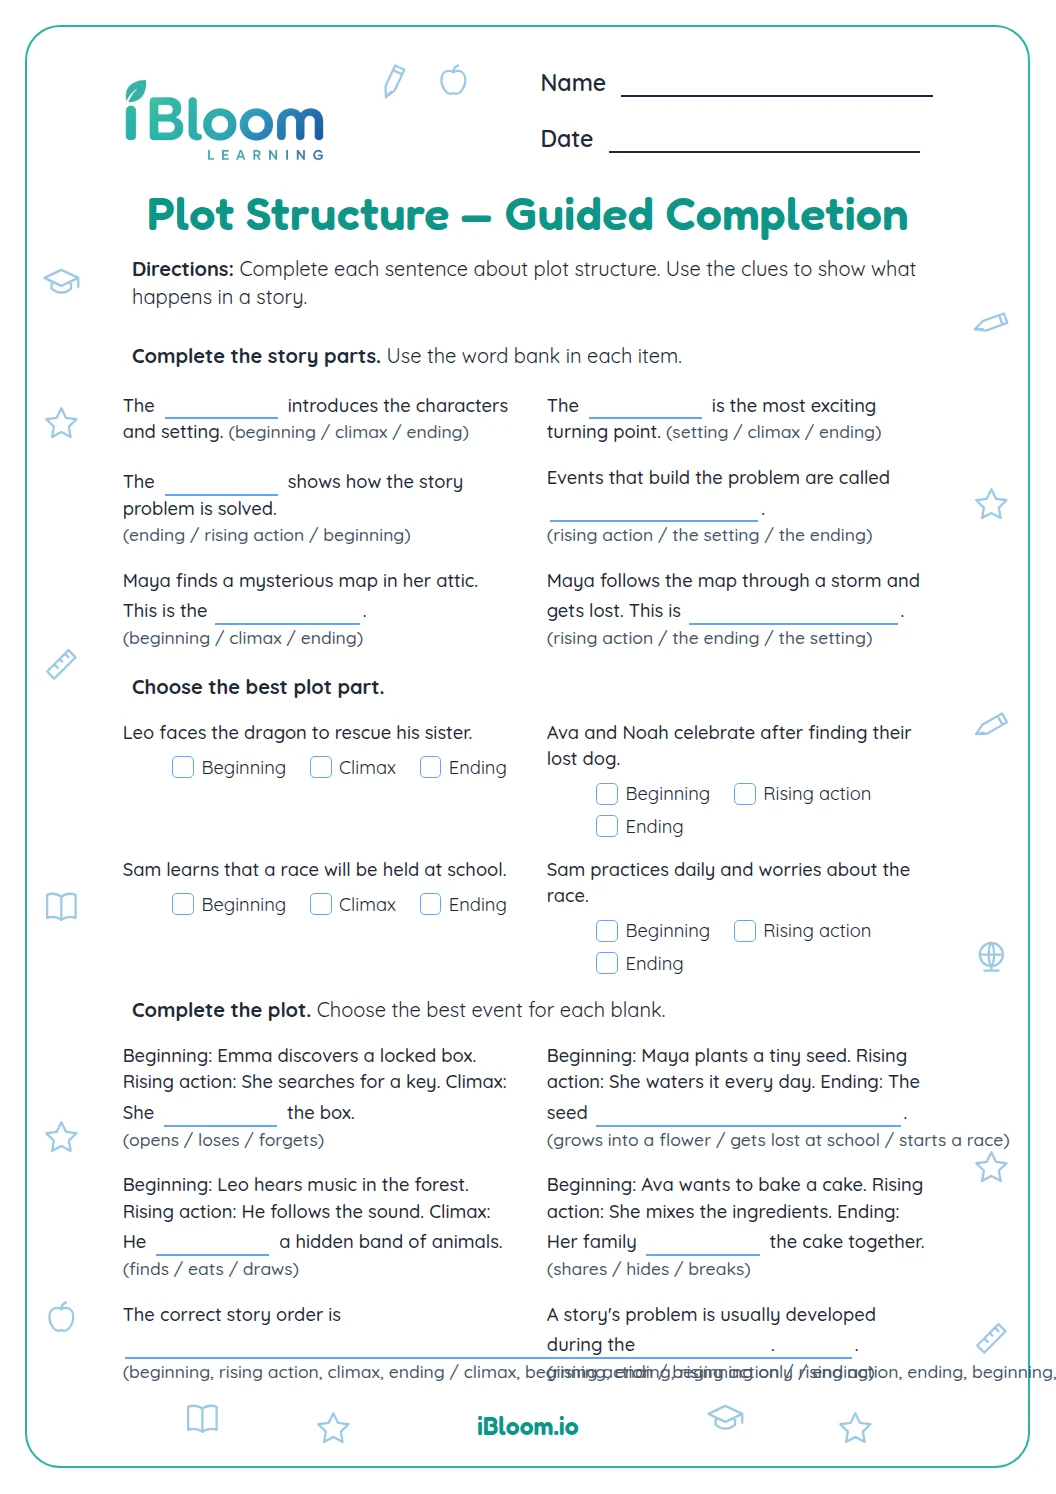
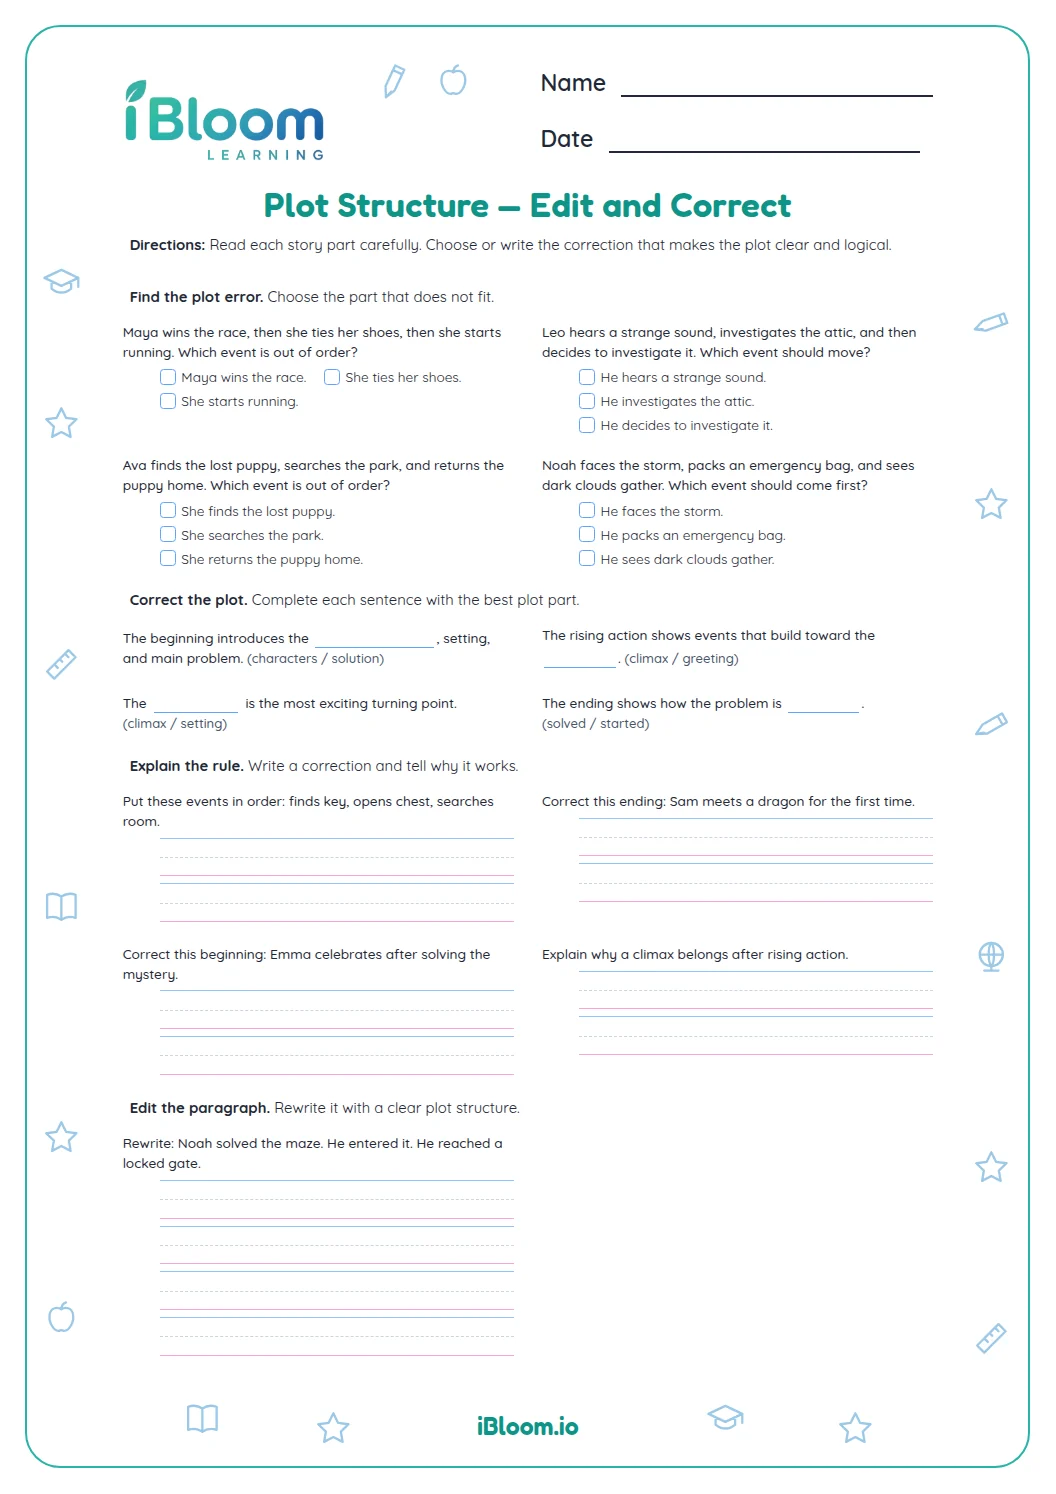
Part B asks for a short plan, with a sentence or two for the beginning, rising action, climax and ending. Part C has children write a short story about finding something unexpected from that plan, in two chunks: the beginning and rising action first, then the climax and ending. Then they reread it to check that each plot part is there.
- Part A: label five events from Maya's story (questions 1 to 5)
- Part B: plan your own story in four parts (questions 6 to 9)
- Part C: write the story in two chunks, about finding something unexpected (questions 10 and 11)
What does each part of the plot do?
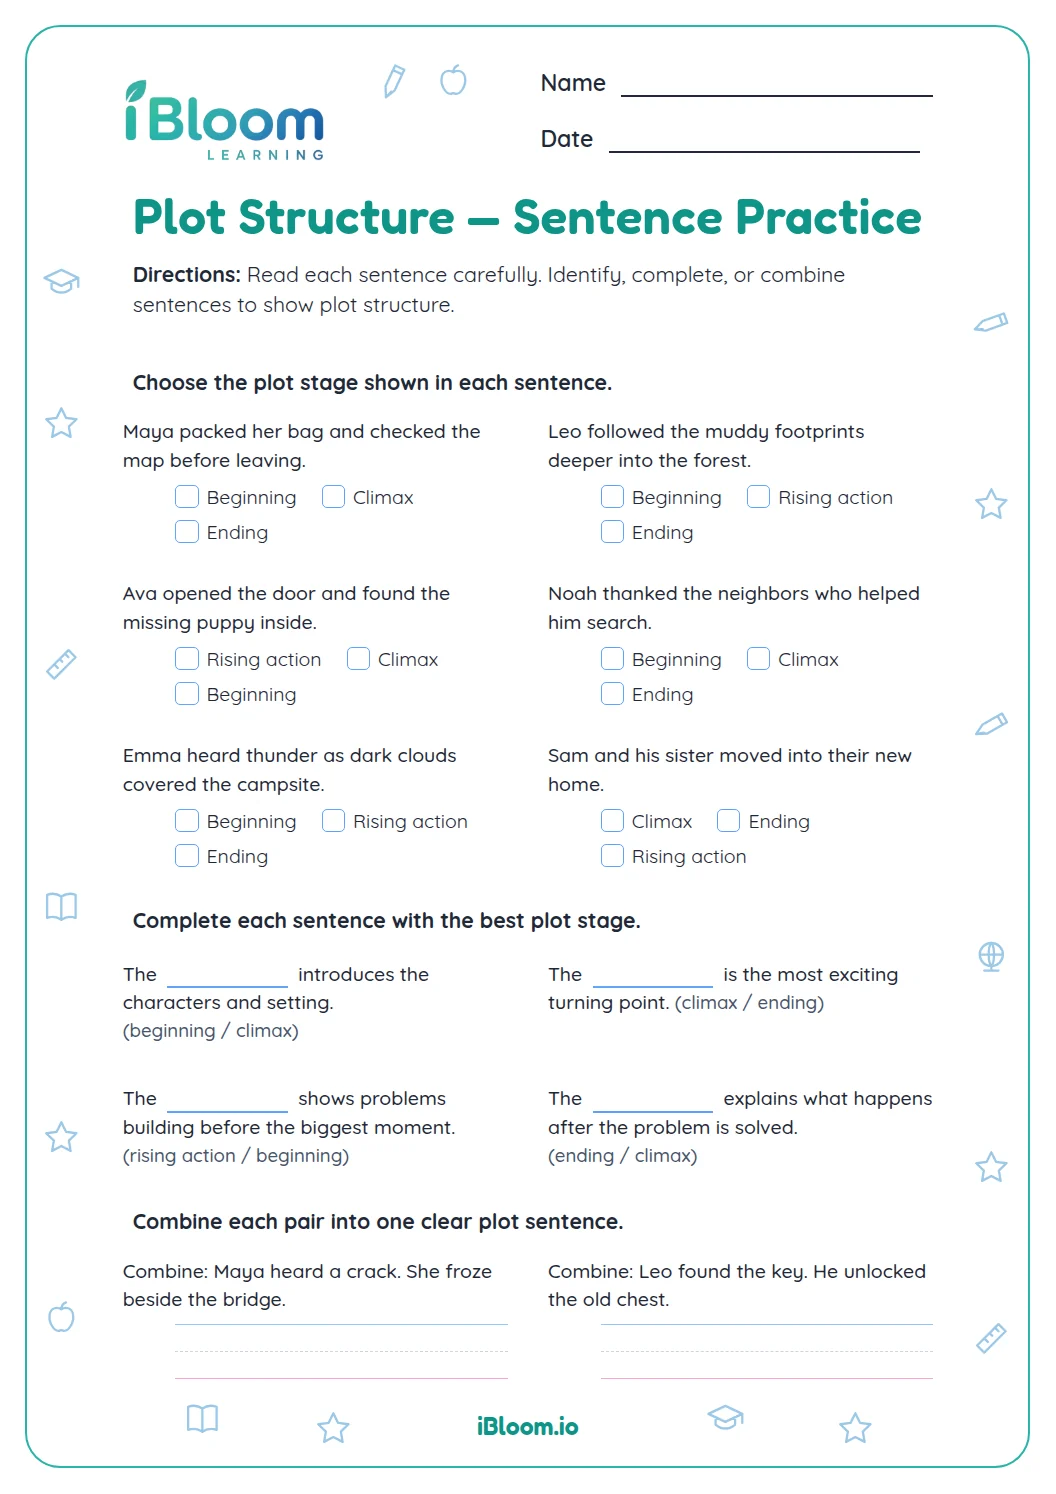
The beginning tells who the story is about and what sets it off. The rising action is where the problem grows: things go wrong, clues appear, or time runs short. The climax is the moment when the problem is faced and the outcome changes. The ending shows how the problem is solved and what is left after it.
A helpful test is to ask what the sentence does. If it starts the story, it is the beginning. If it makes the problem bigger or harder, it is rising action. If it is the big turn, it is the climax. If it ties things up, it is the ending.
- 1Question 3: Maya finds a rusty key under a loose board in Grandma's attic. → Beginning (it starts the story)
- 2Question 1: The key fits an old trunk, but the rusty lock will not turn. → Rising action (a problem appears)
- 3Question 4: With one hard twist, the lock clicks open. → Climax (the problem turns)
- 4Question 2: Maya and Grandma read the diary together. → Ending (it wraps up)
Why plan a story before writing it?
A plan keeps a story on track. A writer who knows the climax before starting can build toward it, and a writer who knows the ending can leave out events that lead nowhere. Part B gives each plot part its own prompt, so children decide all four before the full story begins.
The sample answers in the key follow one idea through: Leo finds an old map in a library book, follows its clues across a park, digs up a tin box of old notes and adds one of his own. Your child's story may be very different, and that is fine. What matters is that each part does its job.
How can a child check their own story?
After writing, children can reread the story and mark each part. Can they point to a sentence that starts it? Is there a place where the problem grows? Is there one moment that feels the most exciting? Does the last part solve the problem?
Asking those four questions after every draft is the habit this page builds. It works for any story, from a few sentences to a full page, and it also shows a child where a part is missing.
How to use this worksheet at home or in class
- 1Read the Part A directions aloud, then do question 1 together and talk about why a stuck lock makes the story's problem bigger.
- 2Let your child finish Part A alone, then check it with the answer key.
- 3Brainstorm for two minutes before Part B, talking about something unexpected a character could find.
- 4Have your child fill in the four plan prompts in Part B, one or two sentences each.
- 5Write the story in Part C following the plan, and encourage your child to use a sentence or more for each part.
- 6Finish by rereading the story together and asking your child to point to each plot part.
Common mistakes and quick fixes
The mistake
Labeling question 4, the lock clicking open, as the ending because the problem is over.
The fix
Ask what happens after it. Maya still has to share the diary with Grandma, so the moment the lock opens is the climax, and the ending comes after it.
The mistake
Labeling question 5, Maya wiggling the key harder, as the climax because it sounds exciting.
The fix
Ask whether anything has changed yet. The lid still stays shut, so the problem is only getting harder. That makes it rising action; the climax is the twist that finally opens it.
The mistake
Writing a plan where the ending is another problem, such as “The shovel breaks,” so the story does not end.
The fix
Ask your child how the character's problem is solved. A good ending answers the problem set up in the beginning and rising action, as when Leo reads the notes in the box.
Common Core alignment
Most US states use the Common Core standards or a close state version. These two Grade 4 writing standards match the plot work on this page.
Set up a situation and organize the events in order.
On this sheet: Parts B and C ask children to start a story with a character and a situation and to order the events.
Show the official wordingHide the official wording
Orient the reader by establishing a situation and introducing a narrator and/or characters; organize an event sequence that unfolds naturally.
End a story with a conclusion that follows from the events.
On this sheet: The ending prompt and the written story ask children to solve the problem set up earlier.
Show the official wordingHide the official wording
Provide a conclusion that follows from the narrated experiences or events.
What to practice next
Make more practice
Further reading
Questions parents and teachers ask
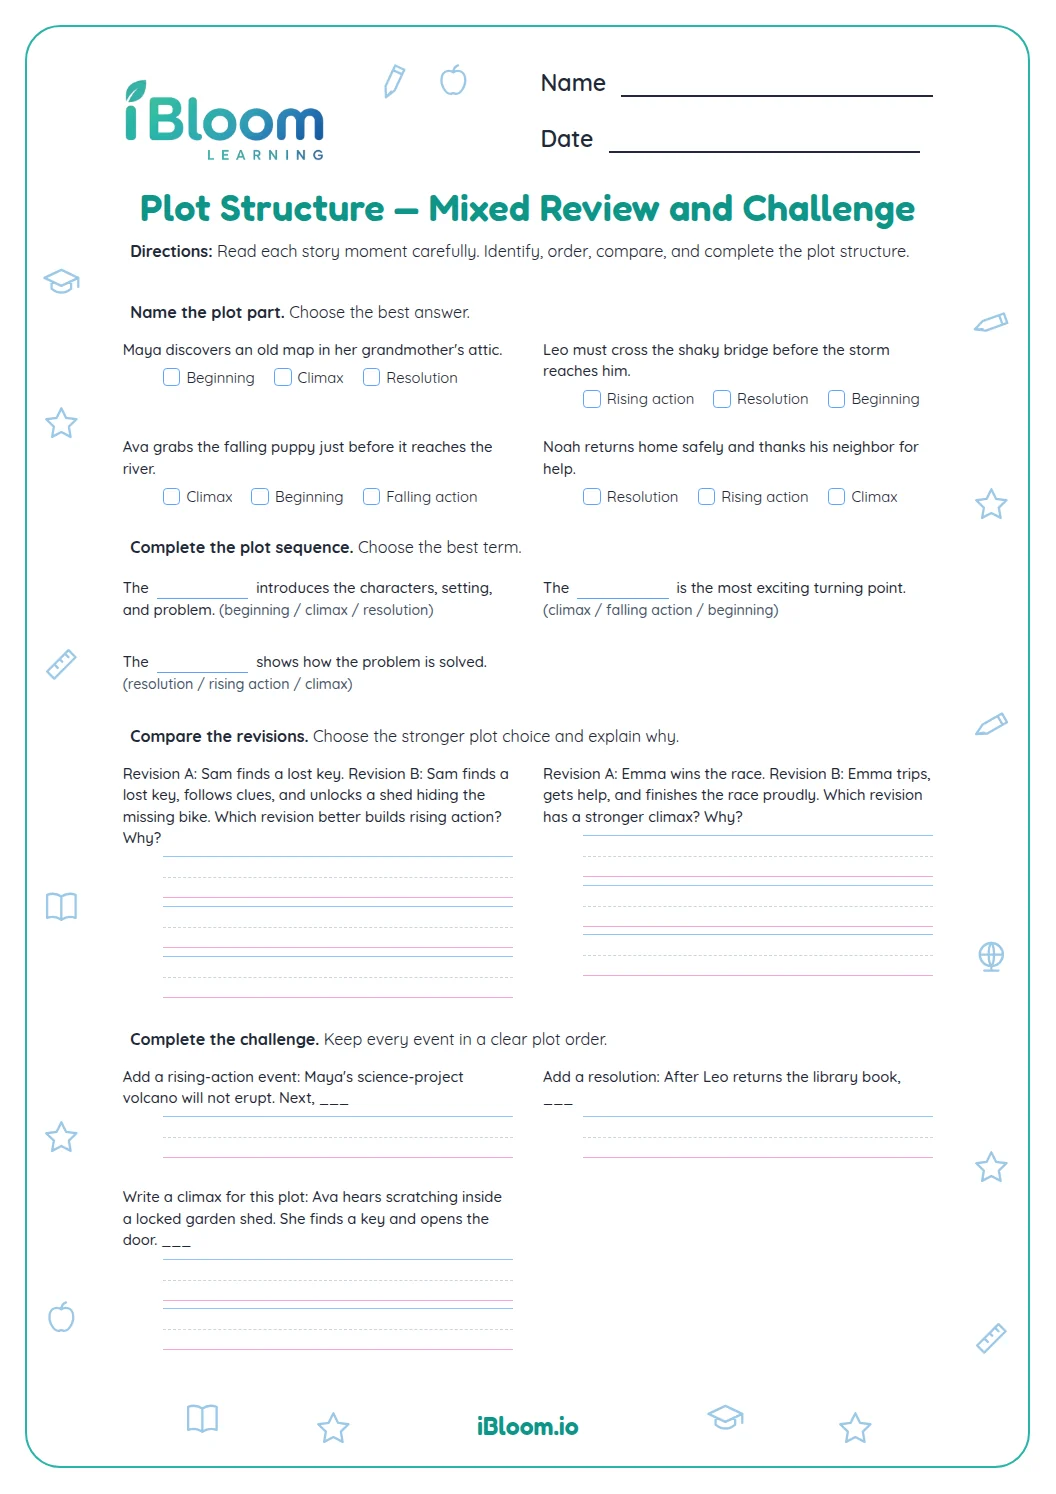
What is the difference between rising action and the climax?
Rising action is everything that makes the problem harder, and the climax is the single moment when it turns. In Maya's story, the lock that will not turn and the lid that stays shut are rising action. The hard twist that clicks the lock open is the climax, because after it the problem is solved.
Does a story have to follow this plot structure?
Not every published story follows it, but it is a reliable plan for a Grade 4 narrative. Beginning, rising action, climax and ending help young writers keep a story from drifting. This worksheet uses that four-part plan so children can practice organizing events, and later stories can use other shapes.
How long should the story in Part C be?
Aim for a few sentences for each plot part. The lines on the page fit a short version, and children who want to write more can continue on notebook paper. Writing from the Part B plan helps, because each plot part already has a sentence or two ready to grow into the story.
Do the sample answers in the key have to match what my child wrote?
No. Part A has one correct label for each event, but Parts B and C are open writing. The key shows a sample plan about Leo and a map so you can see what a good answer looks like. Look for a clear beginning, a growing problem, one exciting moment and an ending that solves it.
Why are the events in Part A out of order?
Mixing the events up makes children decide by what each event does, not by where it appears. The sentence about reading the diary with Grandma comes second on the page but belongs at the end. As an extra step, children can number the five events in story order: 3, 1, 5, 4, 2.
What should my child do after this worksheet?
Have your child read the finished story aloud, then point to each plot part. If a part is missing or thin, add a sentence or two. After that, the Character Development and Setting worksheets help with stronger stories, and the Mixed Review worksheet in this set pulls all the plot skills together.