

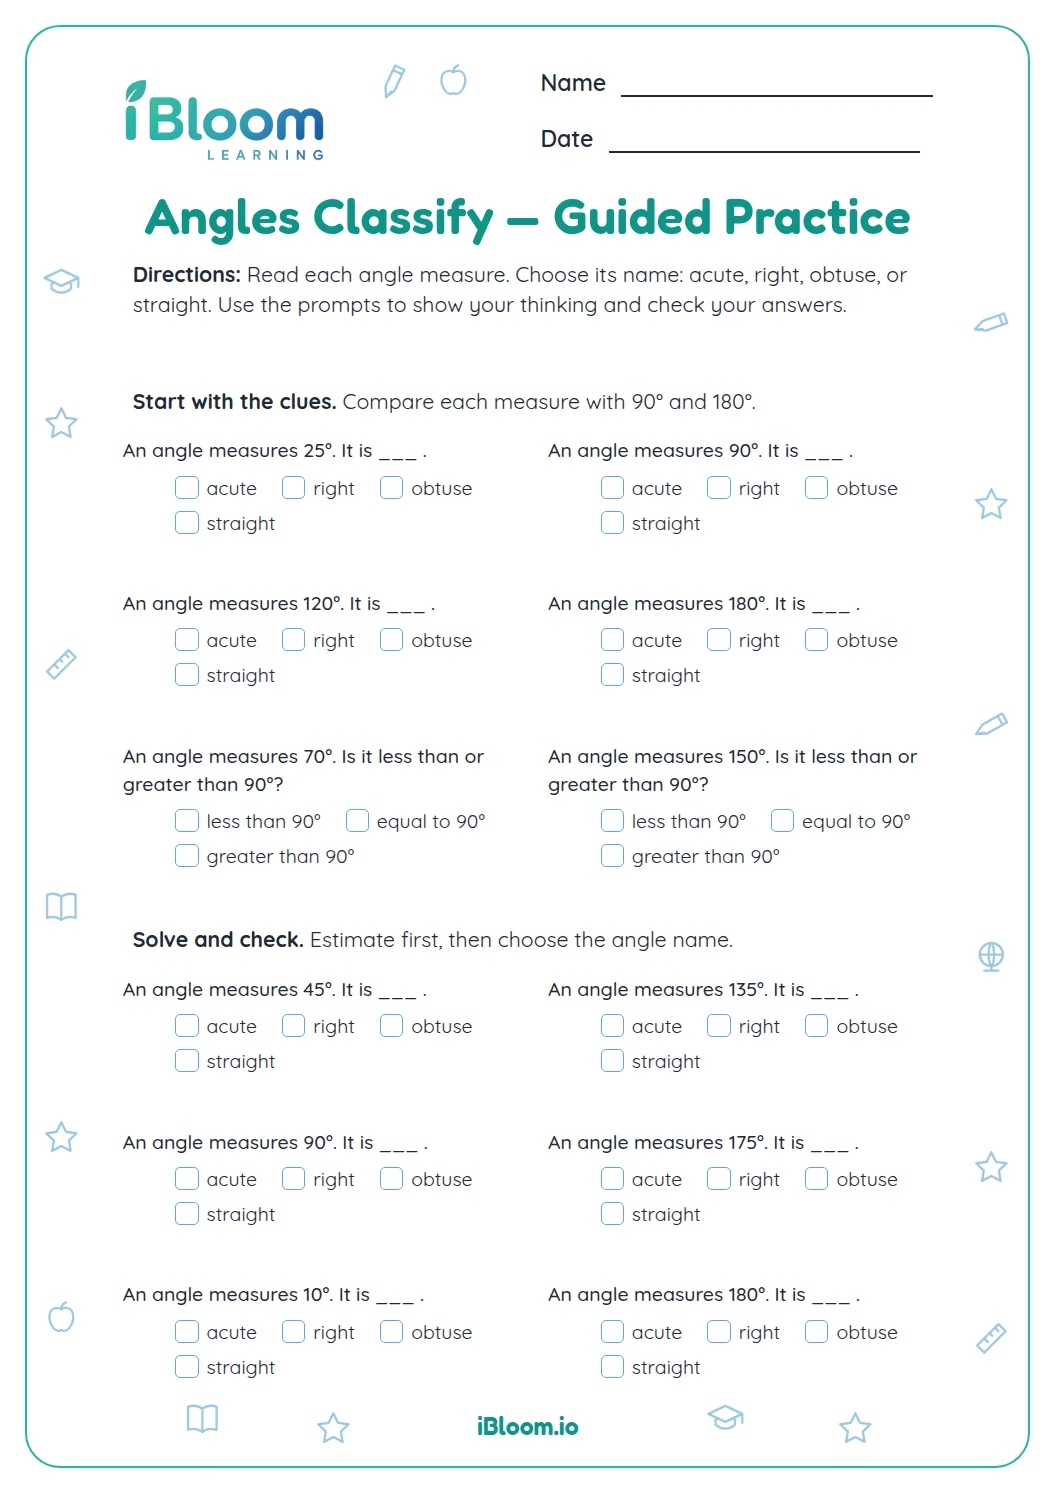
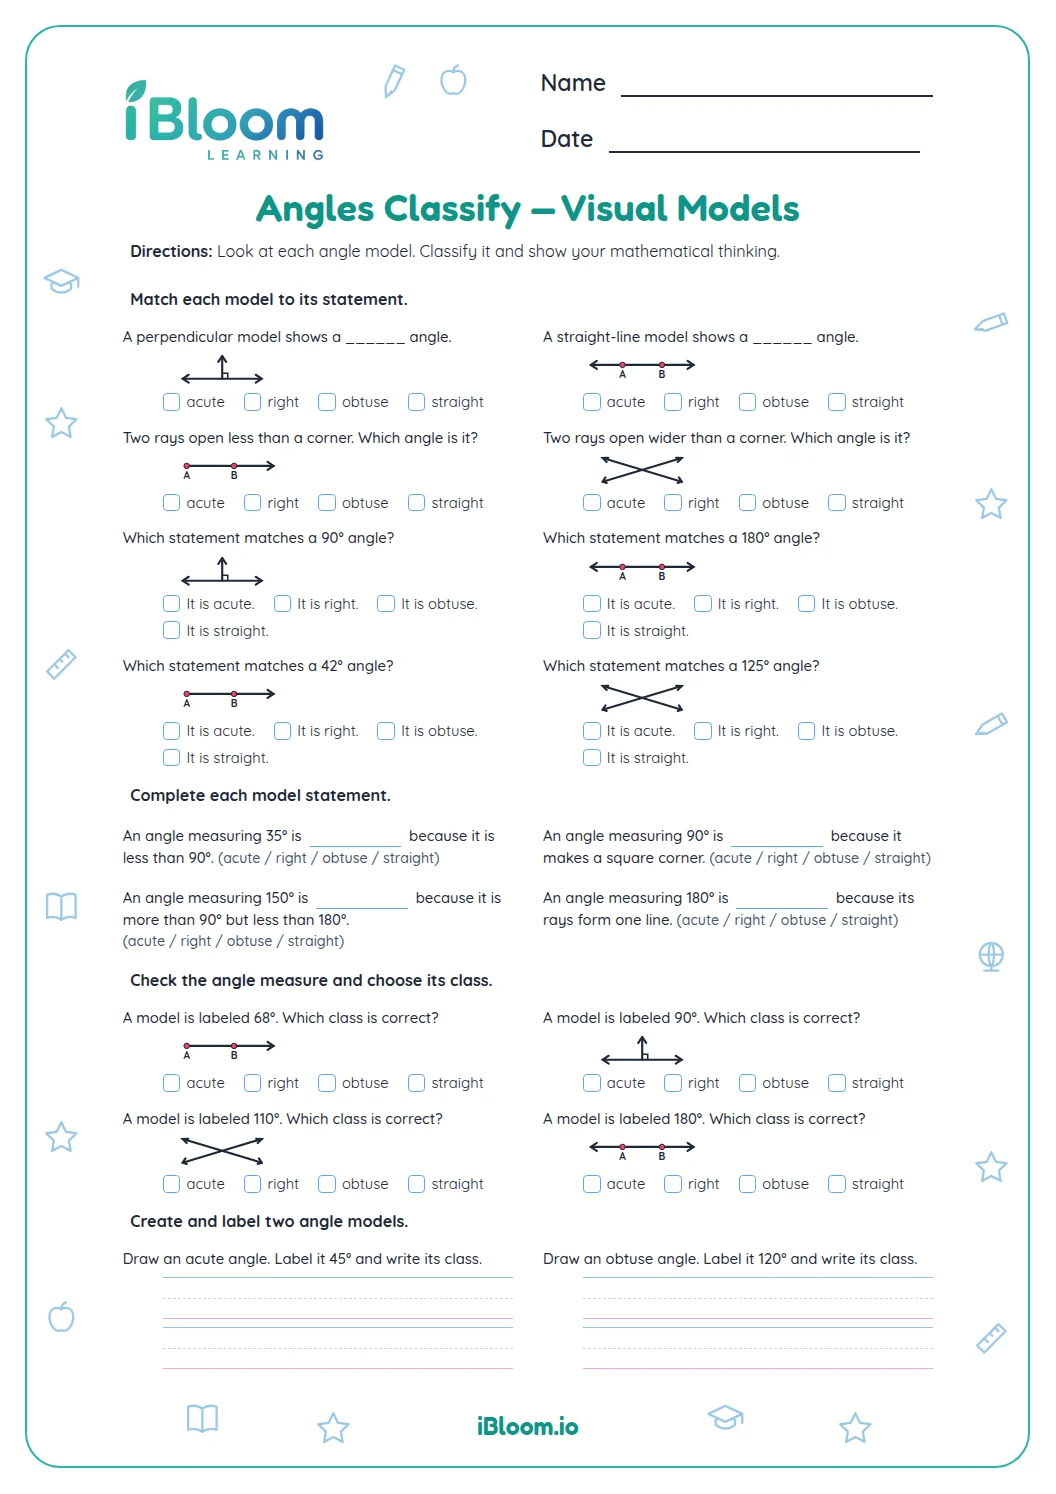
About this worksheet
This free two-page worksheet gives Grade 3 students fourteen angle-reasoning problems. Part A has four angles to measure with a protractor. Part B checks angle size, scale choice, tool placement, and four missing measures using angle sums. Part C asks for explanations about ray length and zero alignment. The measuring tasks practice Common Core 4.MD.C.6. Students need a semicircular protractor and pencil; a separate answer key lists the measurements, choices, and sample explanations.
Aligned to 4.MD.C.6
How should a protractor sit on each angle?
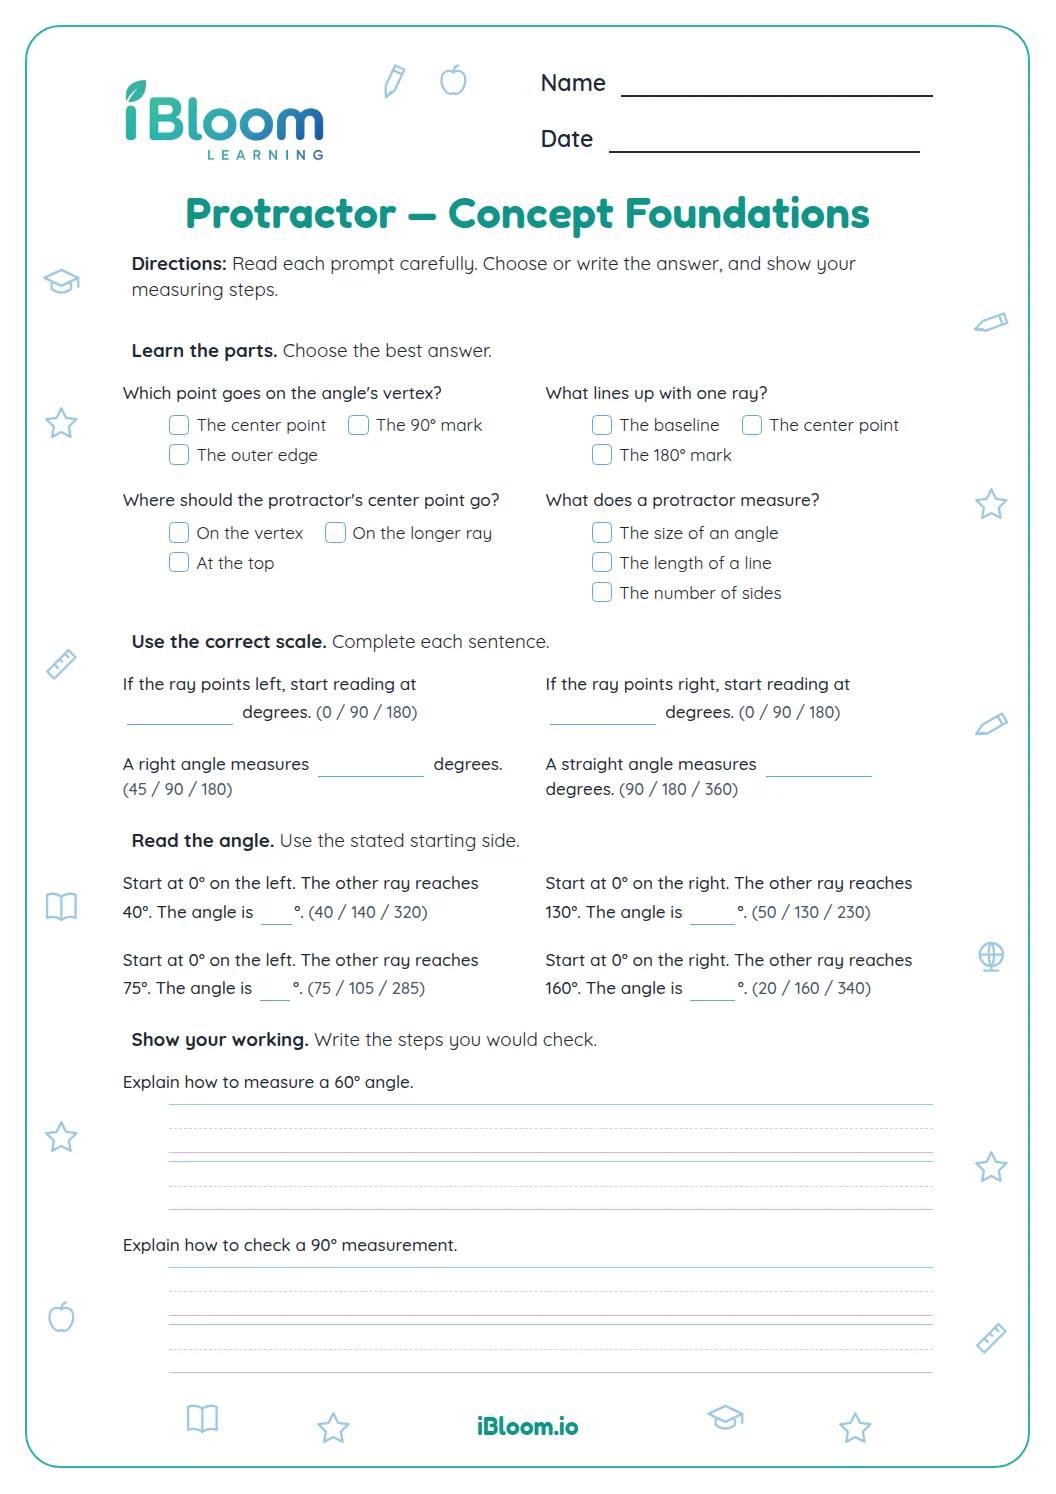
Place the protractor’s center mark on the angle’s vertex, where the two rays meet. Line up its baseline with the horizontal ray. Read the scale that starts at zero on that ray, then follow it to the other ray.
The four drawings include small, right, and wide openings. Read to the nearest whole degree and record a degree symbol. If the ray is shorter than the protractor’s scale, extend it lightly along the same straight line.
How does a right-angle benchmark prevent a wrong reading?
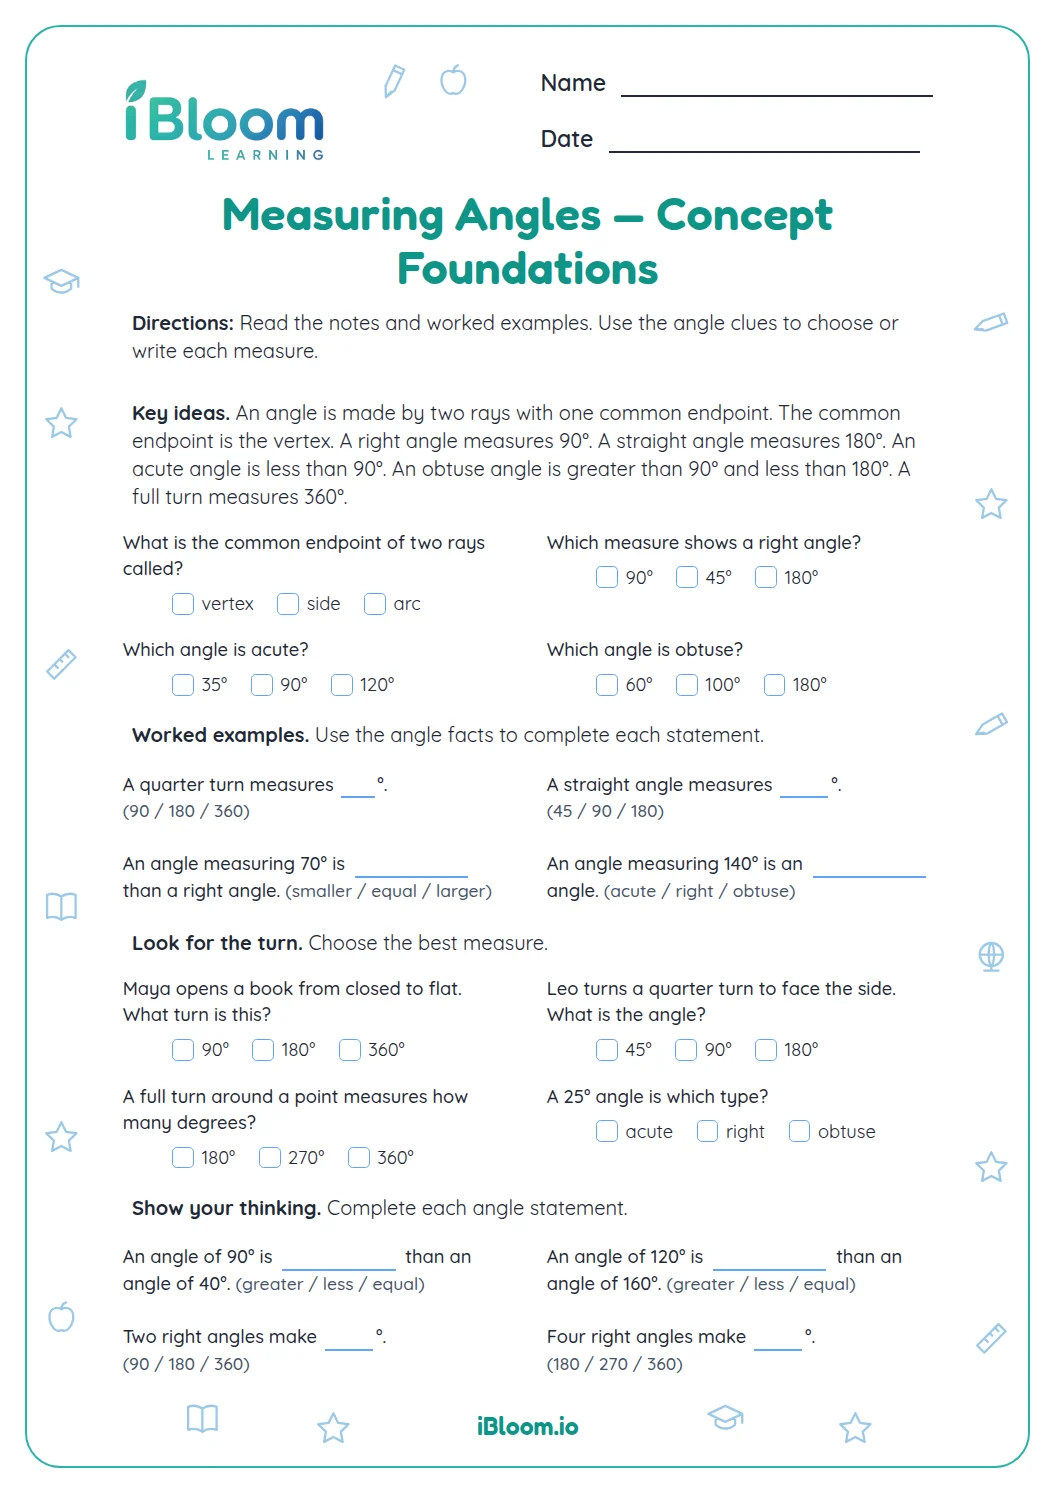
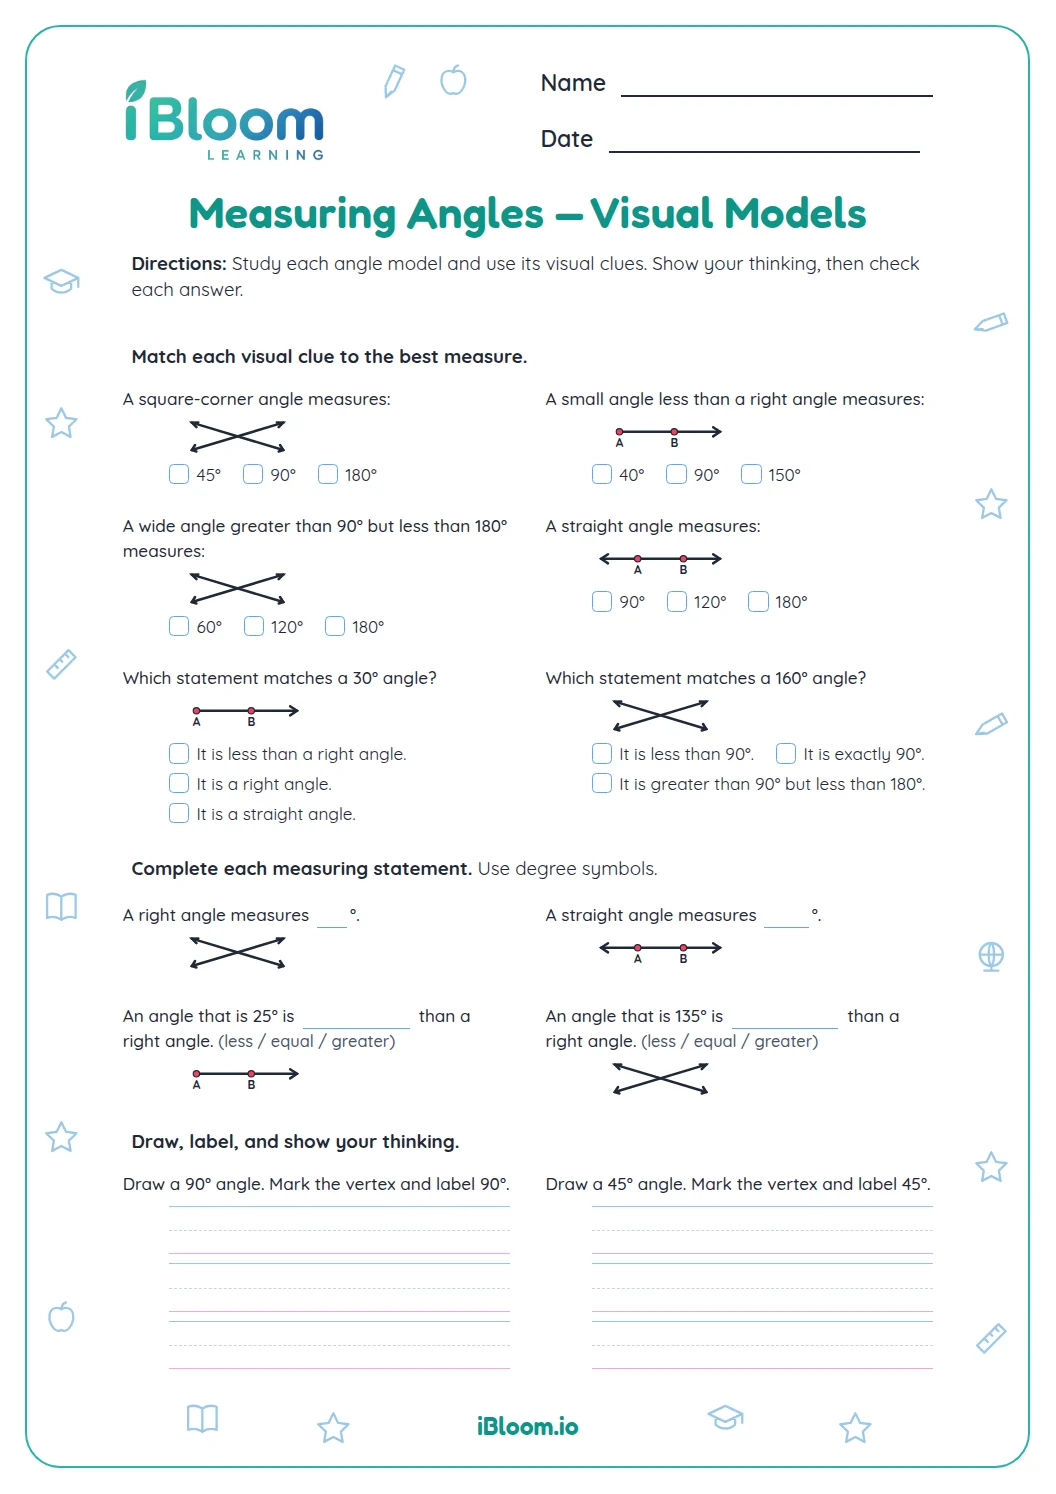
An acute angle is smaller than a right angle, so its measure is less than 90 degrees. An obtuse angle is larger than a right angle and smaller than a straight angle, so its measure lies between 90 and 180 degrees.
In question 5, the two scale readings are 40 and 140. The prompt says the angle is acute, which makes 40 the only reading consistent with its opening.
- 1The angle is acute.
- 2Acute means less than 90°.
- 340° is less than 90°; 140° is greater.
- 4Choose 40°.
How do students find an angle they cannot measure directly?
Use the known whole angle and its parts. In question 9, a right angle totals 90 degrees. Taking away the known 37-degree part leaves 53 degrees. The two parts must add back to 90.
A straight angle totals 180 degrees. Question 10 uses that total, while question 12 supplies a whole angle of 150 degrees. Question 11 reverses the operation: 28 degrees more than a right angle means 90 + 28 = 118 degrees.
Why do ray length and zero alignment matter?
Making a ray longer does not change an angle’s opening. Question 13 asks students to explain why extending both rays leaves a 50-degree angle at 50 degrees.
Question 14 describes a protractor starting at 10 instead of zero. The student should reposition the baseline and vertex before reading. This checks how to use the tool, rather than relying on a plausible-looking number.
How to work through the sheet
- 1Set out a semicircular protractor, pencil, and straightedge.
- 2For each Part A angle, predict whether it is smaller than, equal to, or larger than 90 degrees.
- 3Place the center at the vertex, align the starting ray with zero, and read the matching scale.
- 4Use angle type and the right-angle benchmark to answer Part B.
- 5For missing measures in Part B, subtract a known piece from the whole angle, or add the amount beyond 90 degrees.
- 6Explain why ray length leaves angle size unchanged and how to repair the alignment mistake in Part C.
Mistakes to discuss and fix
The mistake
Reading the other scale because its number is easier to see.
The fix
Trace from the zero on the starting ray and check the answer against 90 degrees.
The mistake
Placing the center mark beside the vertex.
The fix
Move the center exactly to the point where the two rays meet before aligning zero.
The mistake
Thinking longer rays make a bigger angle.
The fix
Compare the opening near the vertex; extending a ray keeps its direction unchanged.
Common Core alignment
Measure printed angles and reason about which protractor scale to read.
On this sheet: Students measure four angles with a protractor and use angle size to check measurement claims.
Show the official wordingHide the official wording
Measure angles in whole-number degrees using a protractor. Sketch angles of specified measure.
What to practice next
Make more practice
Further reading
Questions parents and teachers ask
What supplies are needed for this worksheet?
Students need a pencil and a semicircular protractor with whole-degree markings. A straightedge is helpful for extending a short ray without changing its direction. Print the sheet clearly and keep the page flat while measuring, so the protractor’s center and baseline can be placed accurately on each angle.
Which protractor scale should students read?
Read the scale that begins at zero on the starting ray. On the four Part A drawings, that ray points horizontally to the right. Before accepting a reading, compare the angle with 90 degrees. This helps students notice when they have accidentally followed the opposite scale.
What if a measurement is one degree from the key?
Recheck placement before deciding whether the answer is wrong. The intended measurements are whole numbers, but a thick pencil mark or a slightly shifted protractor can change a reading. Ask the student to align the center and zero carefully, then measure again and compare with the intended value on the key.
Why does the sheet ask about extending rays?
Extending a ray changes its drawn length, not the opening between the two rays. Question 13 uses a 50-degree angle to test this idea. Students should explain that the directions remain unchanged. The same principle lets them extend a short printed ray to reach the protractor’s numbered scale.
How do the written challenges differ from the measuring questions?
Part A asks students to use the tool and record four measurements. Part C asks why a measurement should stay the same when rays grow longer and how to fix incorrect alignment. These explanations reveal whether students understand the method behind the numbers, and the key provides sample responses.